For a general display of your calendar, it might be a good idea to embed event types into your website or emails so visitors can easily book or access your calendar.
Embed event into your website #
Use “Embed Event Into Your Website” to place your booking flow directly on your site so visitors can book without leaving. You’ll use the “Embed” section to generate and copy a small HTML snippet.

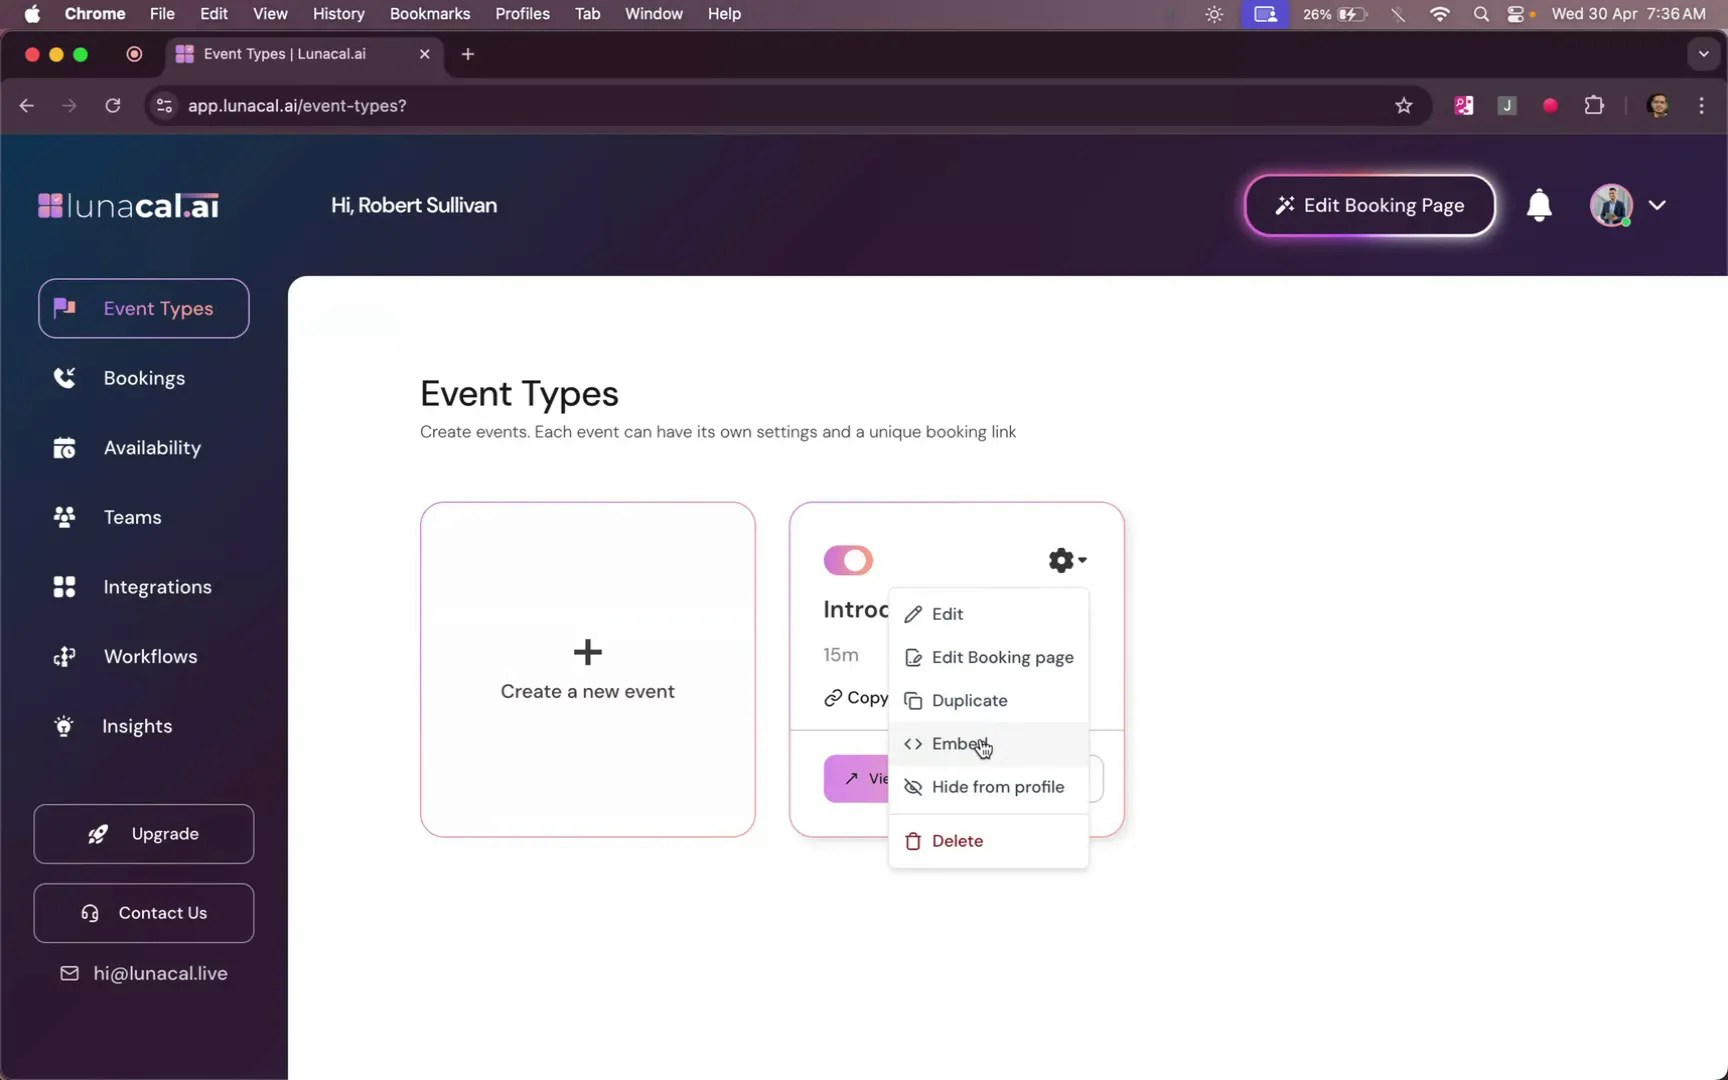
Click on Embed #
Go to event types, locate your desired event and click on the “Embed” option.
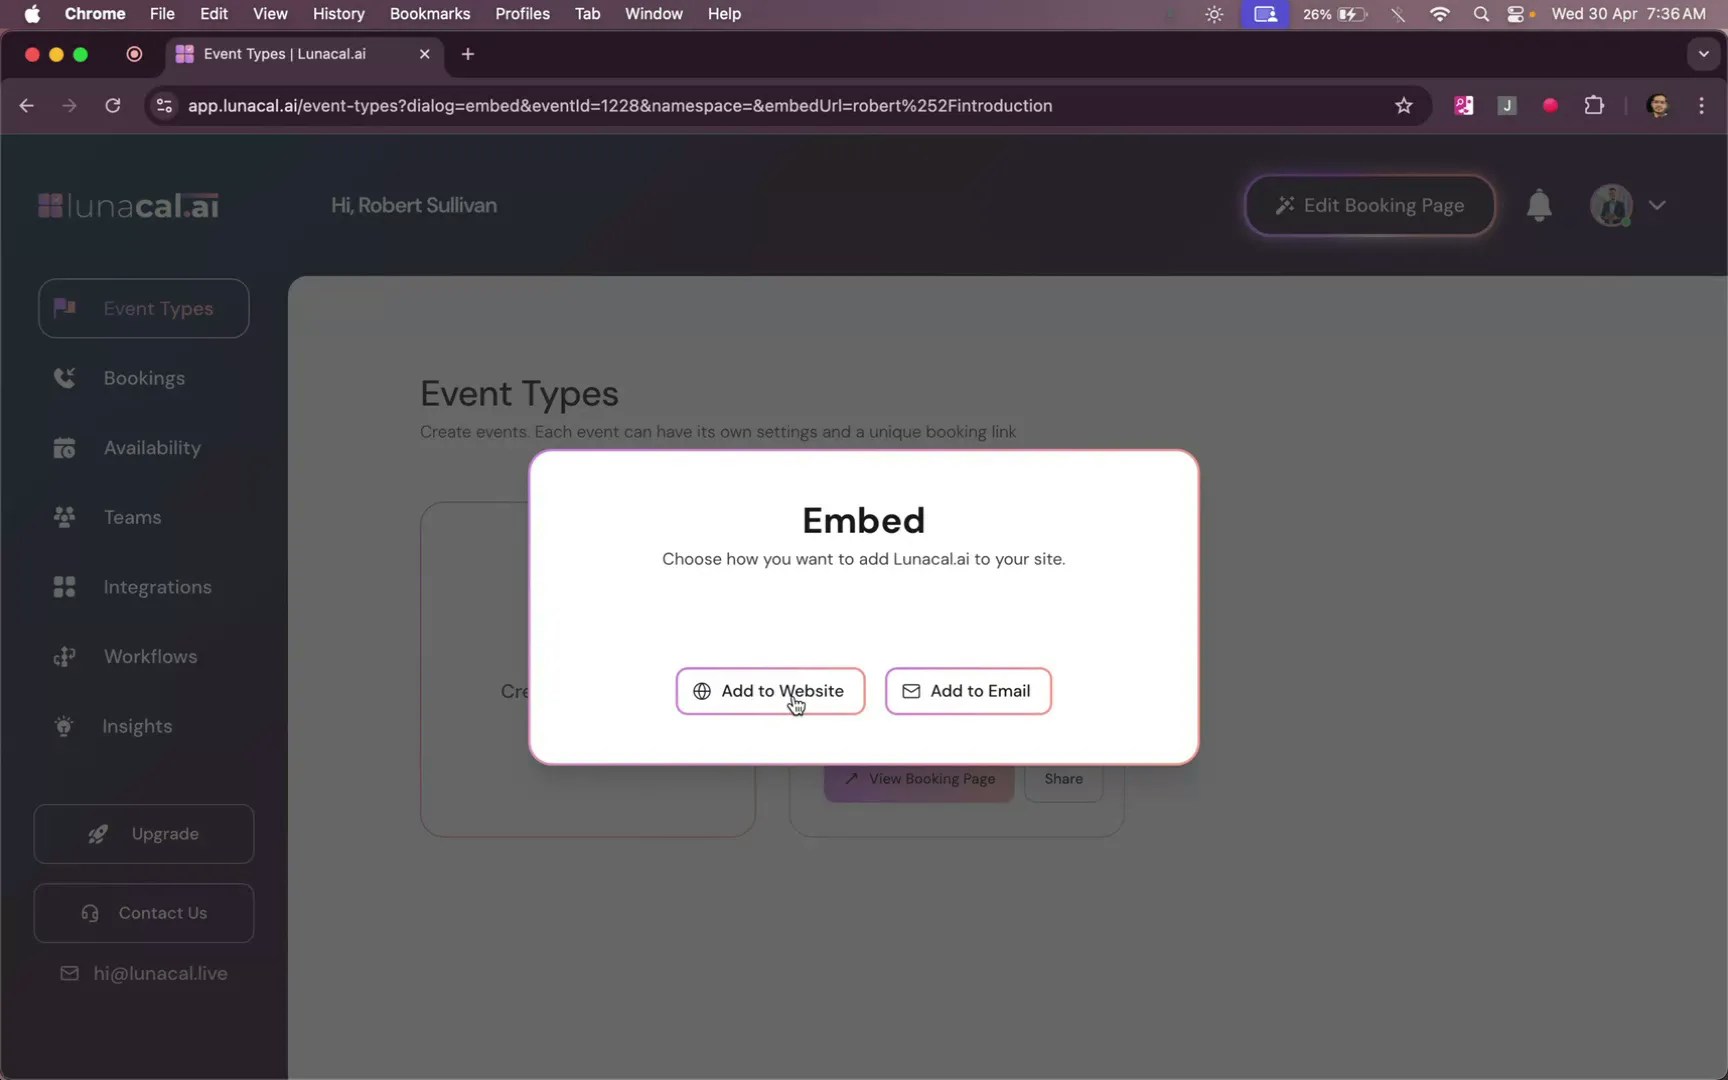
Then, select “Add to Website”
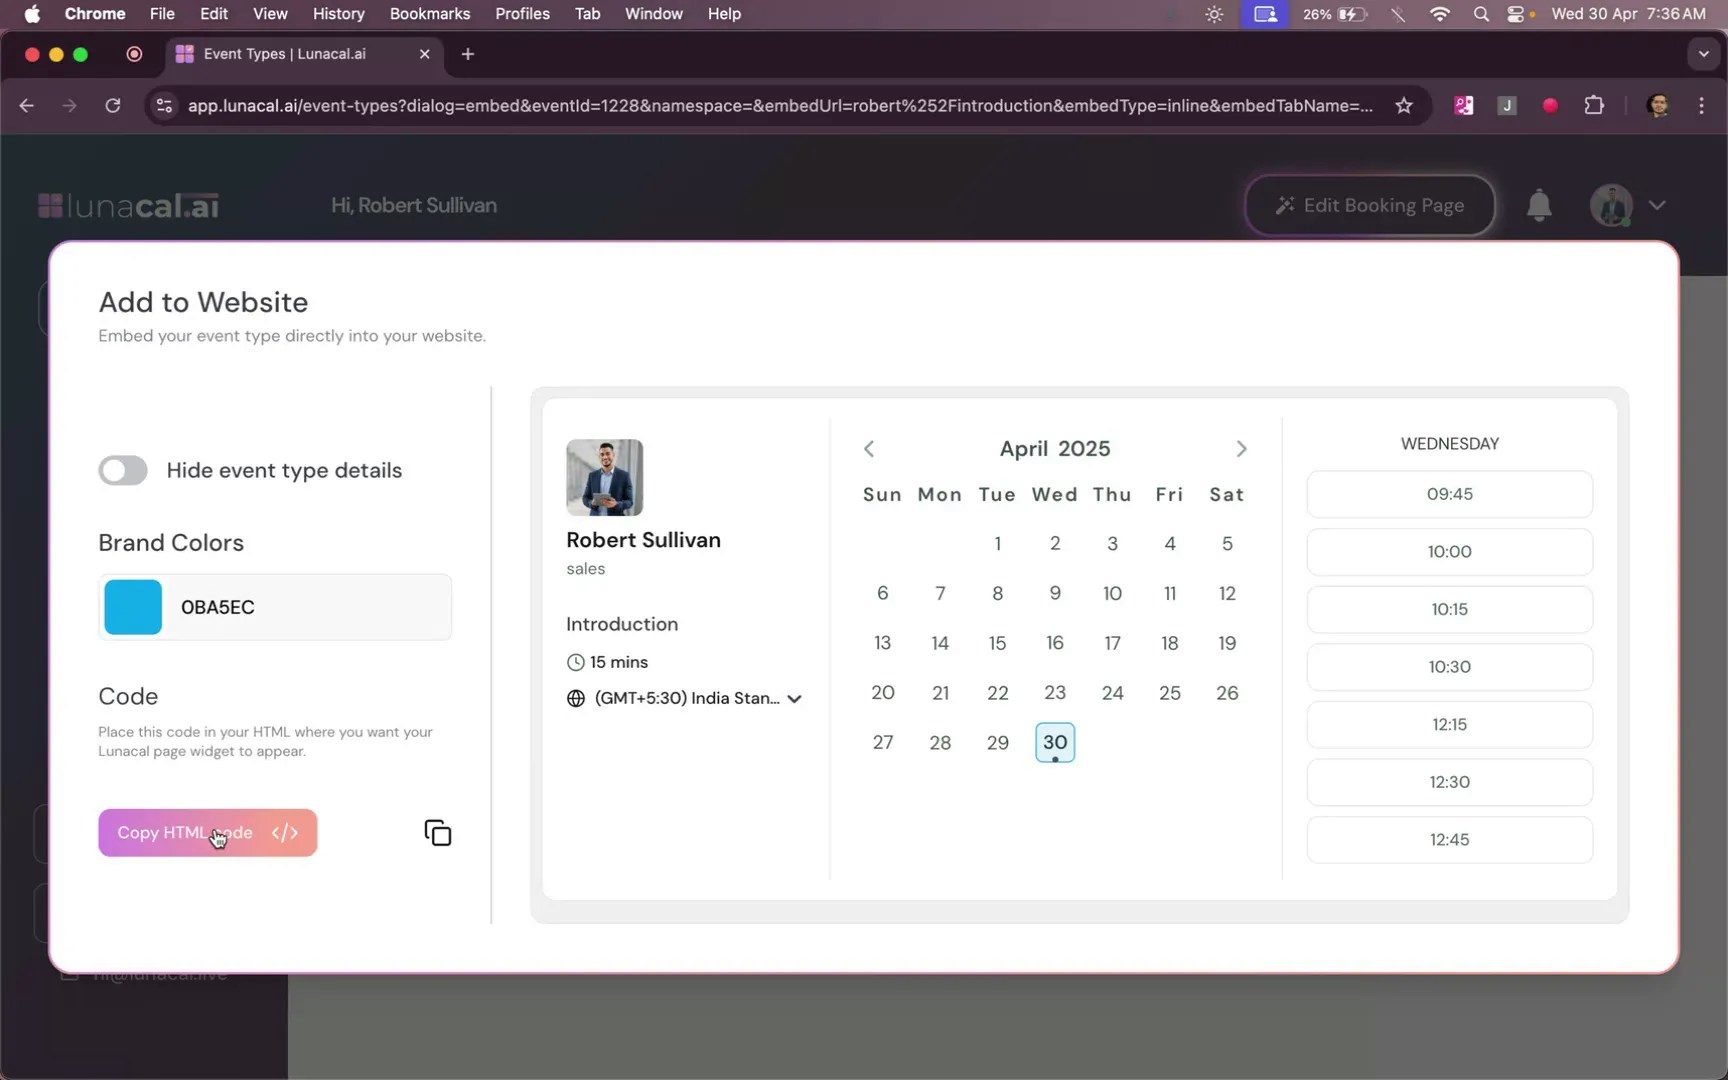
Copy the HTML Code #
You’ll be provided to copy the HTML Code, You can also change the color for calendar.
Paste code on your website #
Paste this HTML into your site where you want the event or calendar to appear (e.g., your “Contact Us” page).
- Example 1: An agency adds the “Discovery Call” event to the Pricing page so leads can book right after reviewing plans.
- Example 2: A tutor drops the snippet into a WordPress HTML block in the sidebar to show weekly availability.

Common mistakes to avoid
- Pasting into a builder block that strips HTML—use a proper “HTML” or “Custom code” block.
- Embedding the wrong event (e.g., copying a test event’s code), causing wrong durations or questions.
- Forgetting to republish or clear cache/CDN, so the embed doesn’t appear for visitors.
- Using low-contrast colors that make the calendar hard to read on mobile.
Good defaults to start with
- Place the embed above the fold on a dedicated “Book a Call” or “Contact Us” page.
- Keep width at 100% of the container and give enough height so the calendar isn’t cut off.
- Match the calendar color to your brand and add a one-line heading (“Pick a time that works for you”).
- Test once on desktop and mobile to confirm the widget loads and scrolls smoothly
Embed event into your email #
Use the email embed function to add clickable time slots inside emails so recipients can confirm a meeting in one step. You’ll work from “Embed” and use “Add to Email” to generate slots that open your booking flow.
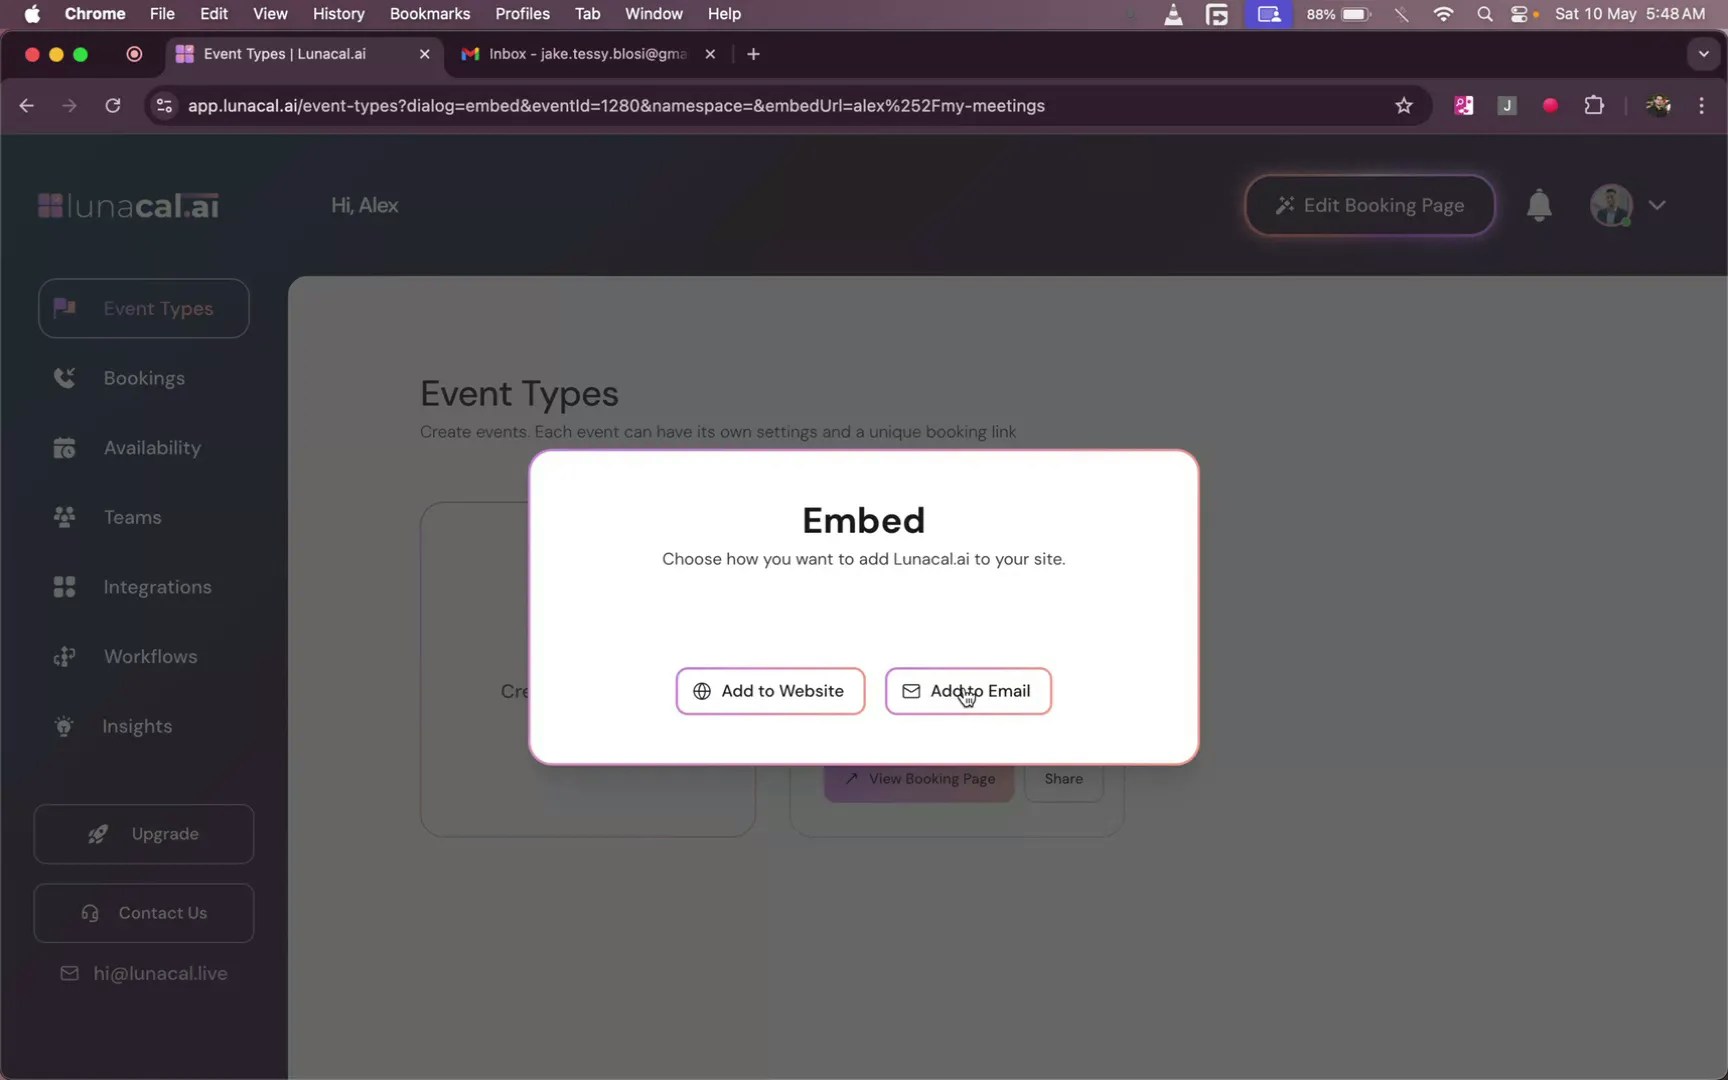
Open Event Type #
Open your event types (e.g., a 30-minute meeting). Click the settings button, then choose “Embed”.
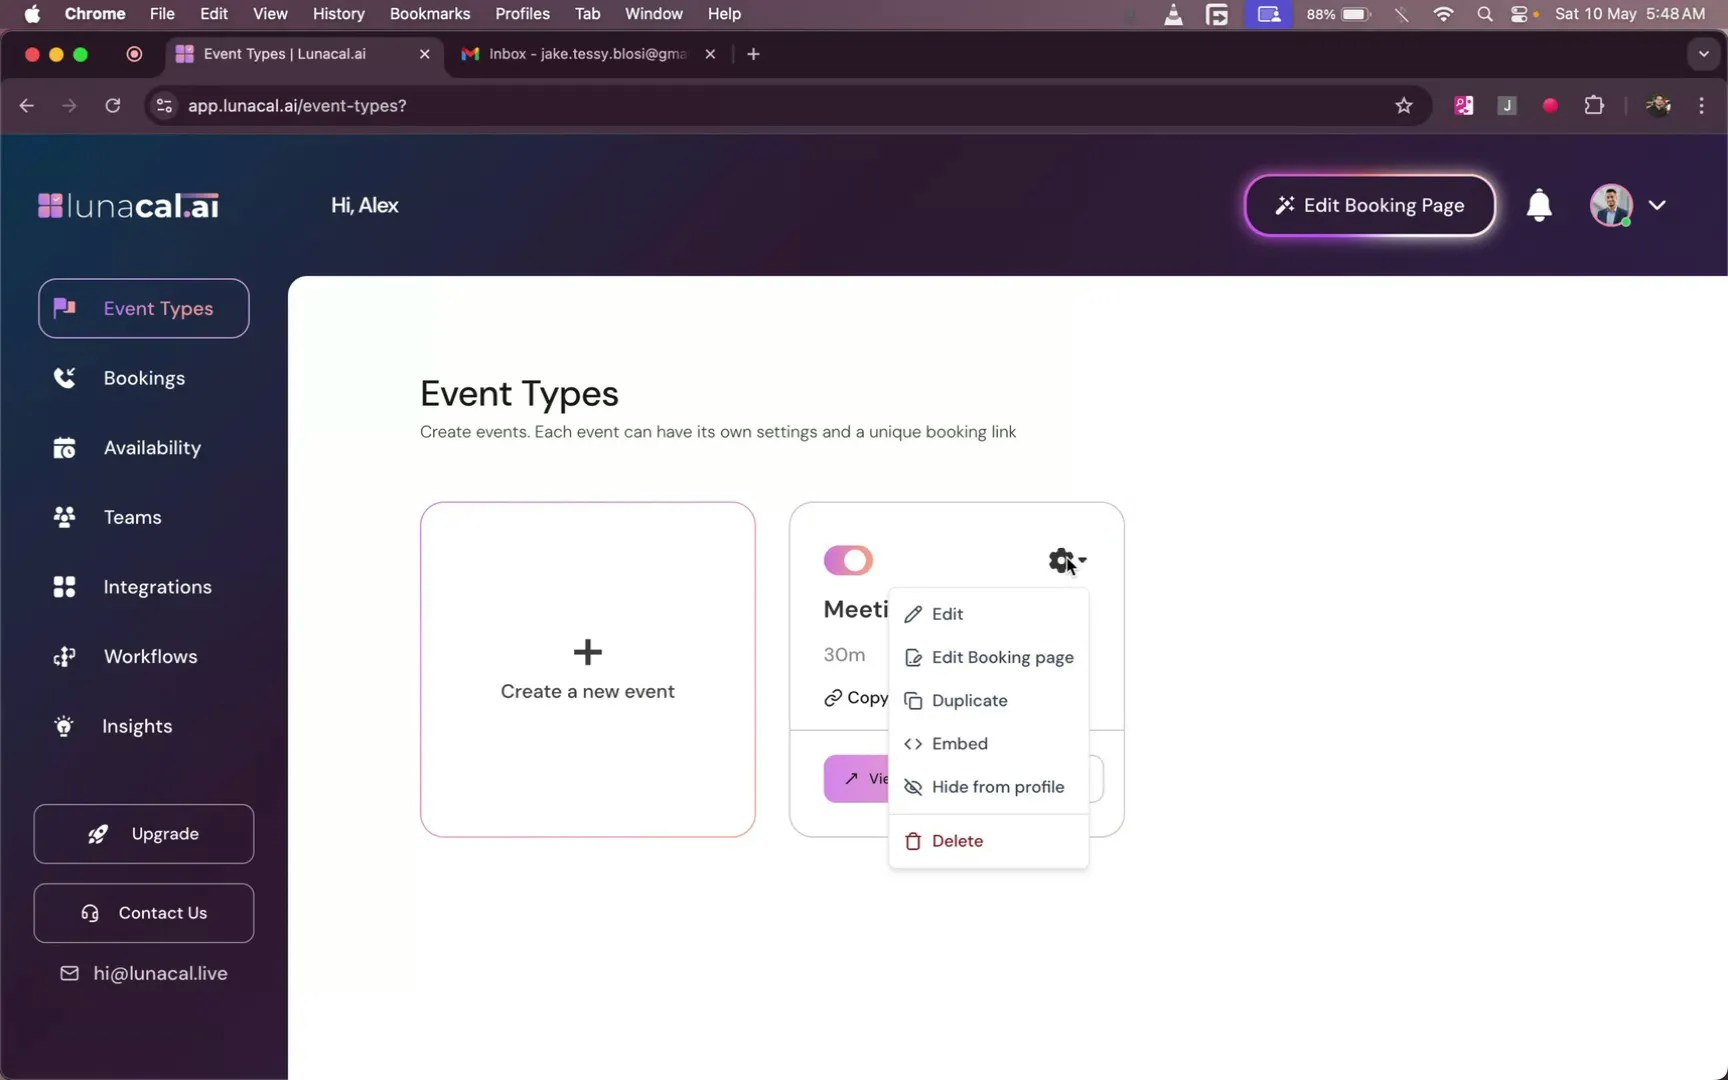
Next, you will be presented with two options: “Add to Website” and “Add to Email.” Click on “Add to Email” to proceed to the relevant page.
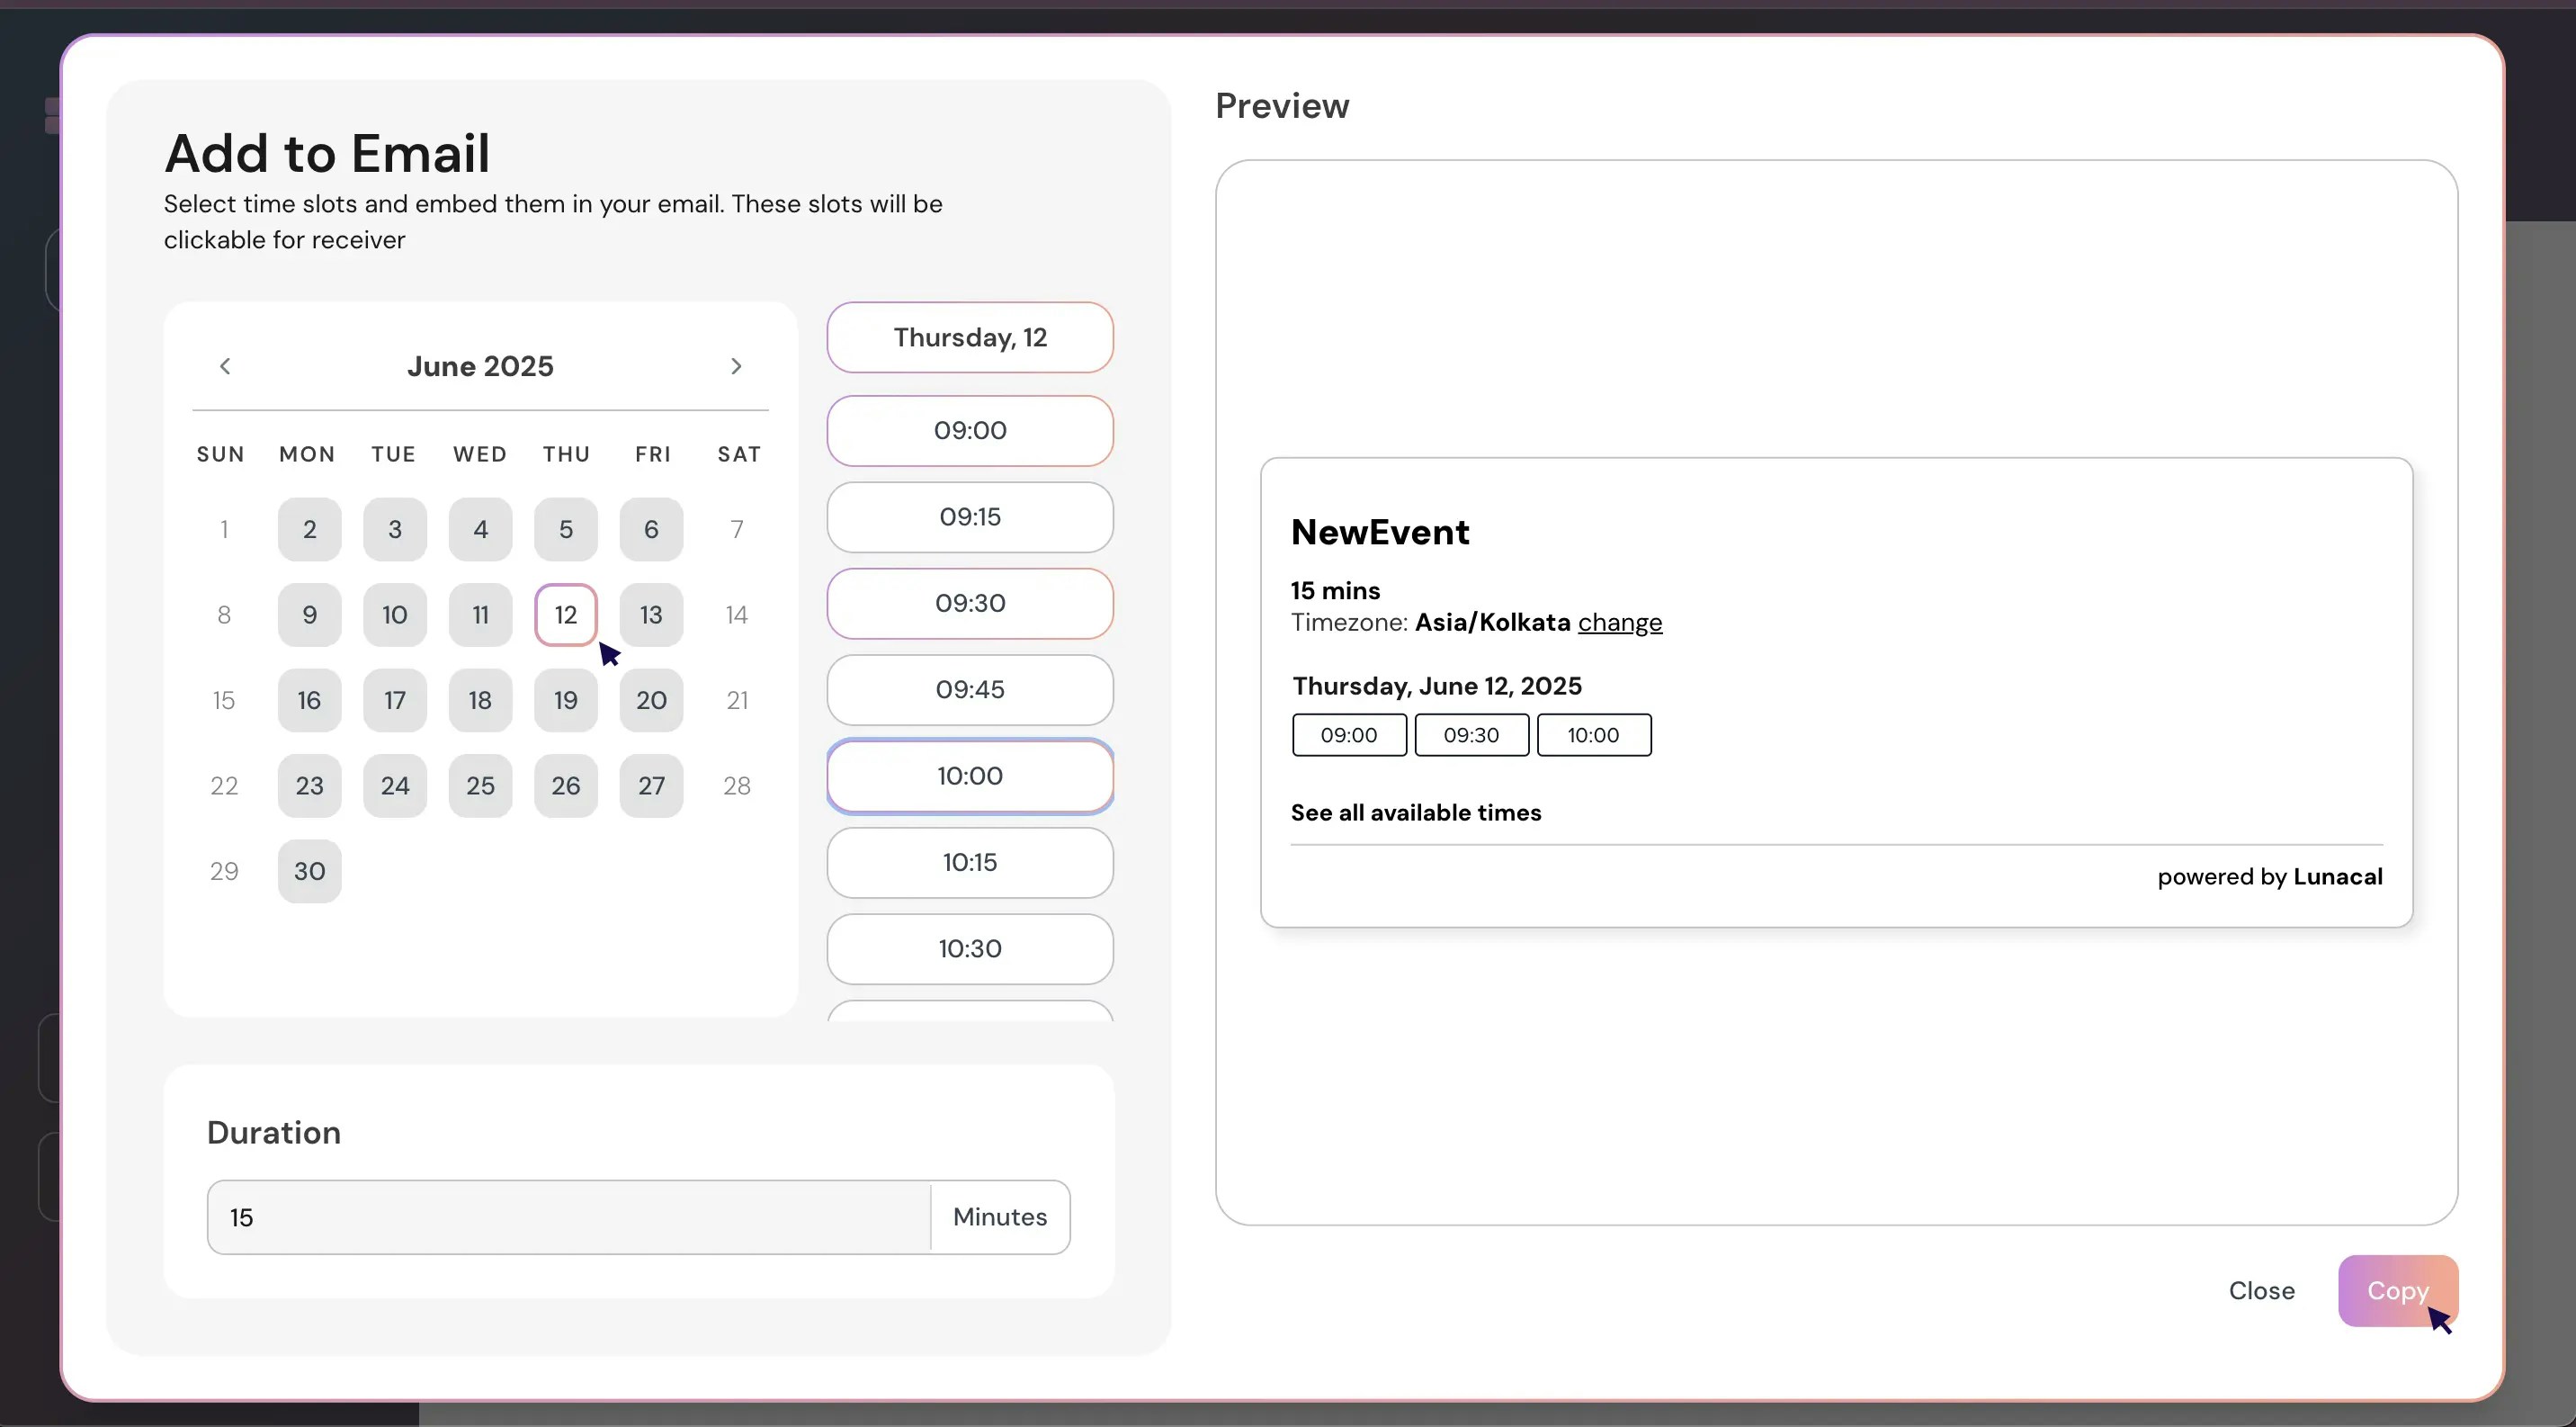
Select Dates & Times #
Select the date(s) and time slots you want to share (e.g., 12th at 9:00, 09:30, 10:00), then click “Copy”.
Example: A consultant shares three morning slots for quick discovery calls so clients can choose without back-and-forth.
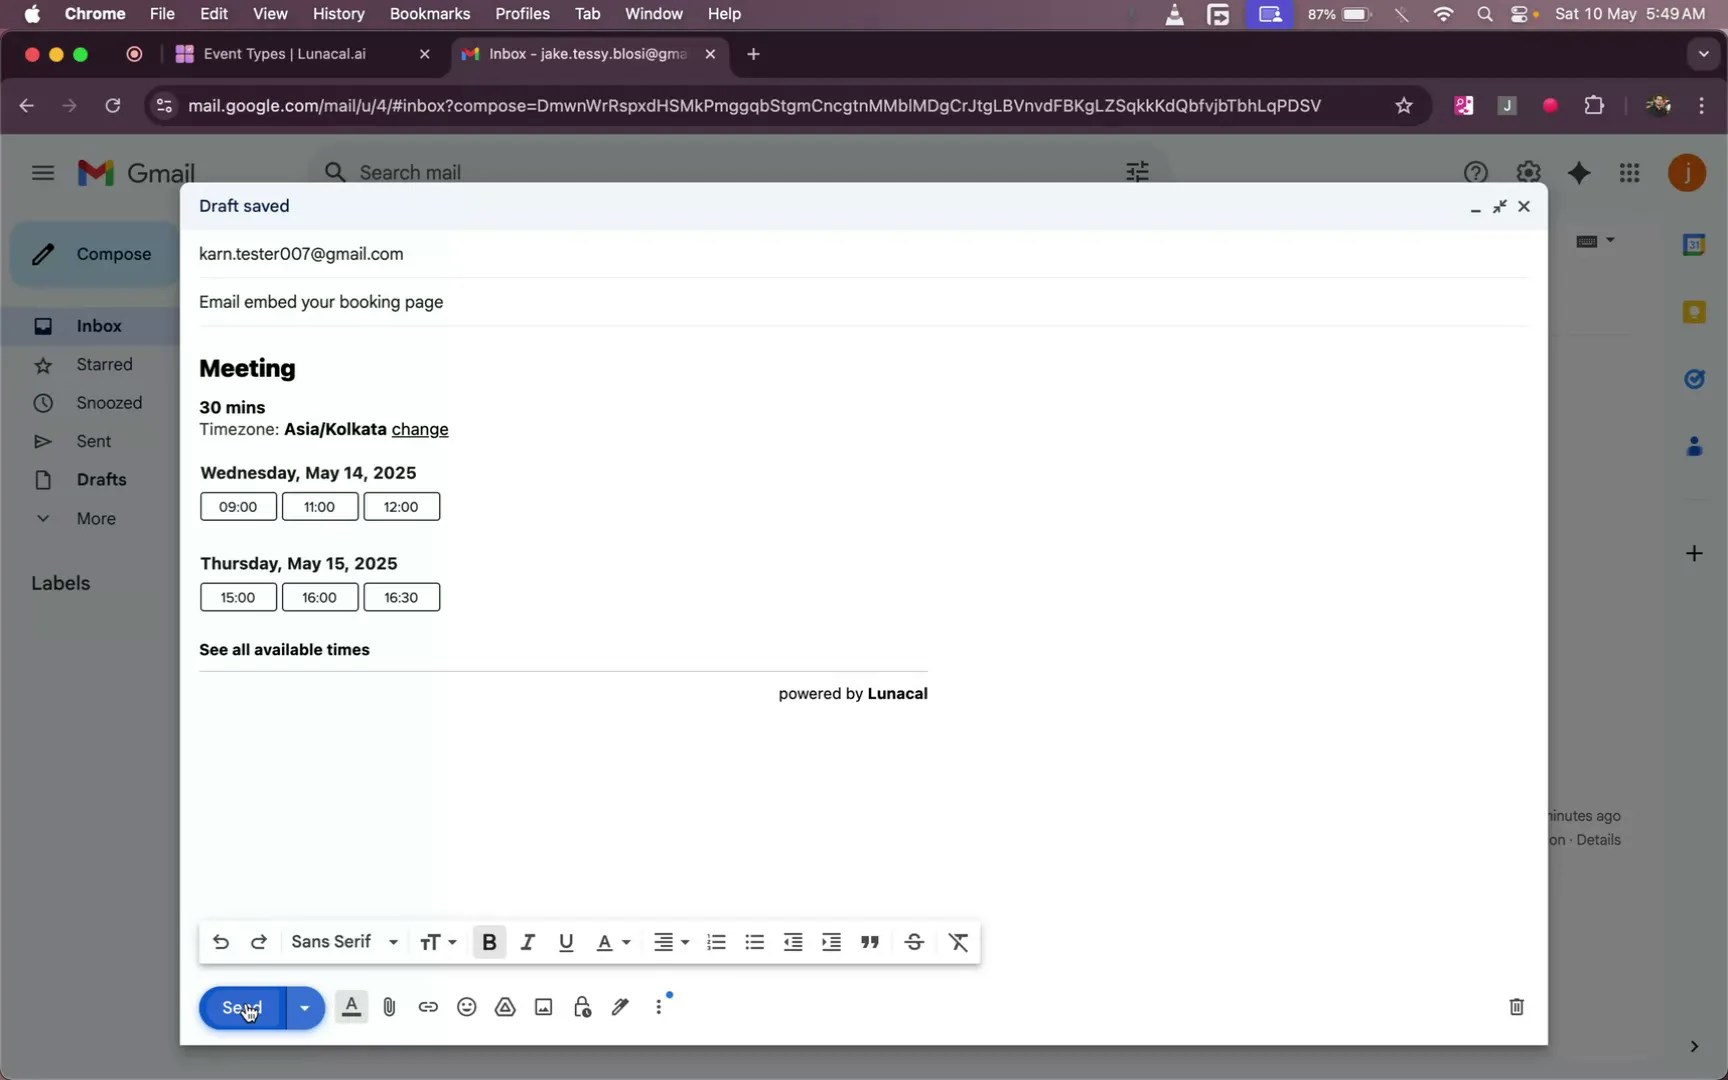
Paste code into email #
Paste the copied slots into your email body where you want them to appear.
Example: A recruiter pastes two days of options near the top of the email so candidates see them immediately.
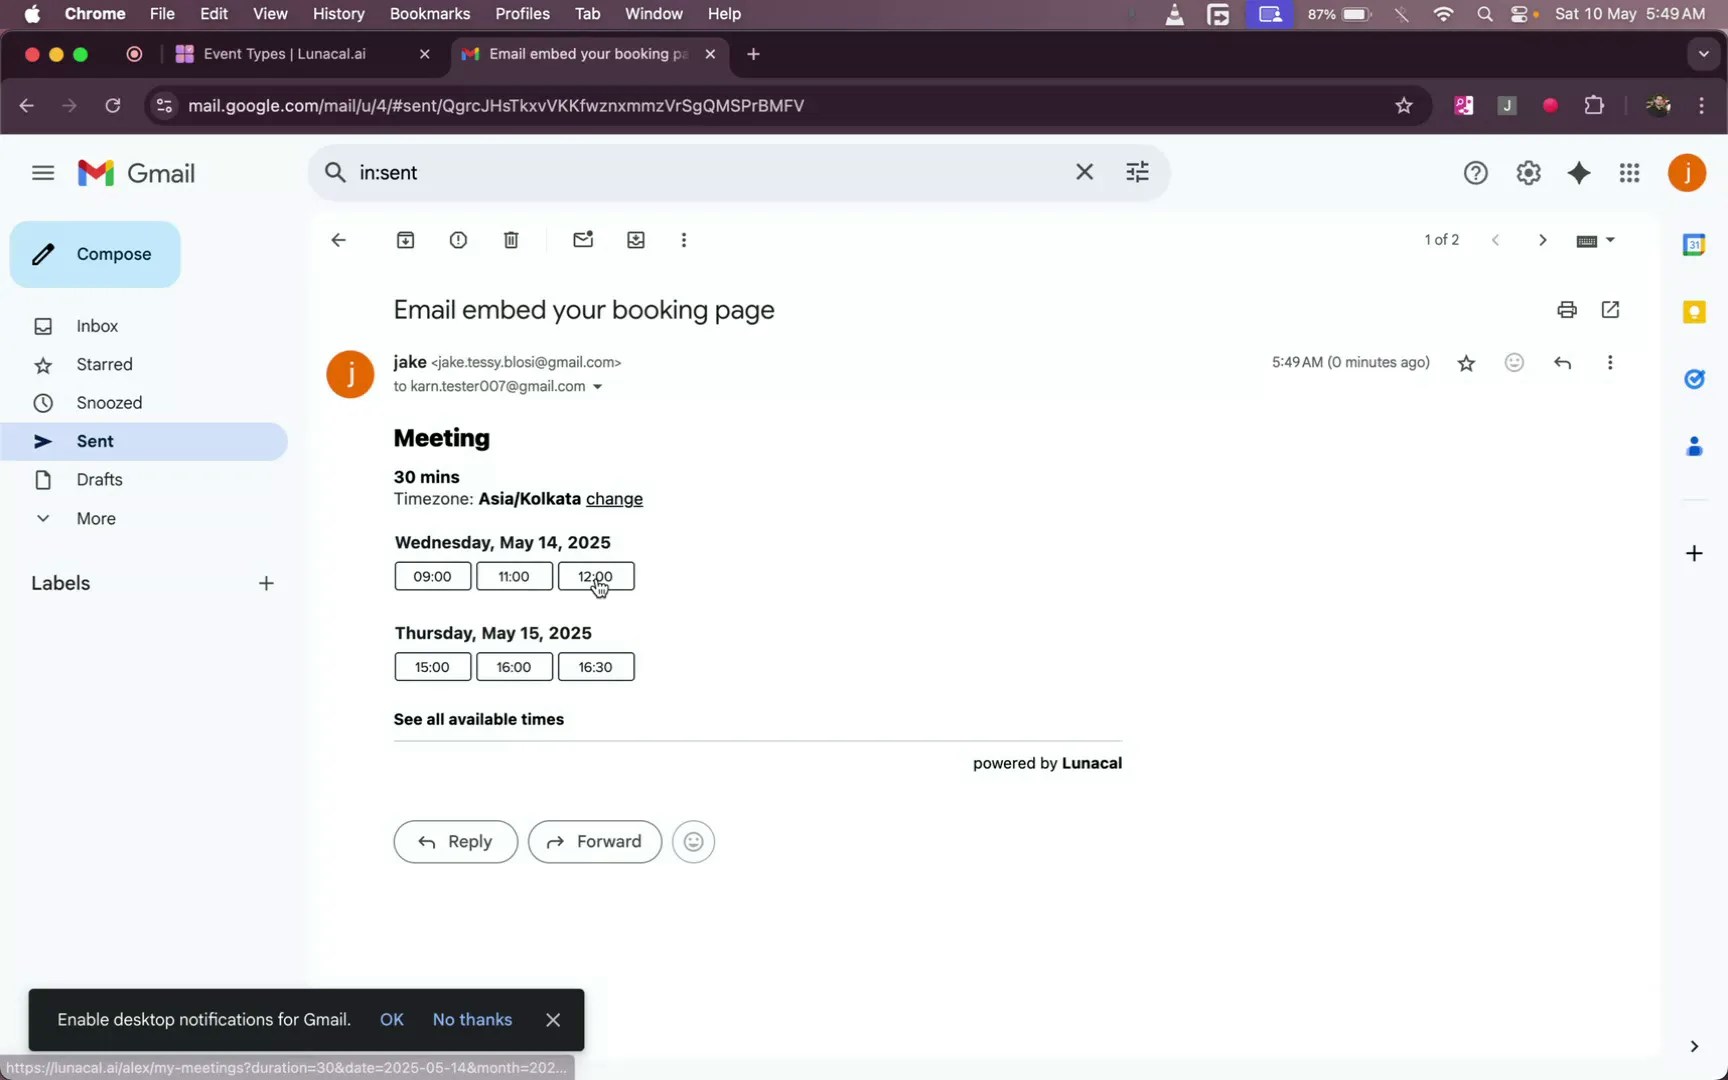
How clients book their appointments #
Recipients click a time slot in the email to select their preference.
Example: A support lead drops slots into a follow-up email—users click once and skip manual coordination.
After clicking a slot, recipients enter their name and email, then click “Confirm” to finalize the booking.
Example: An agency sends options to a new lead; once they hit “Confirm,” the calendar invite is created automatically.

Common mistakes to avoid
- Pasting into a plain-text email (links may break). Use a rich-text editor or your email tool’s default compose window.
- Sharing too many slots across many days, which overwhelms the reader. Keep choices focused.
- Reusing old slot blocks after you change availability; always generate fresh slots from “Add to Email”.
- Mixing different event types in one email, which confuses recipients about duration and details.
Good defaults to start with
- Offer 3–5 slots across 1–2 days to keep decisions simple.
- Place the slot block high in the email so it’s visible without scrolling.
- If most clients prefer mornings, share slots in your best-responding hours first.
- Test by sending the email to yourself once to confirm links and formatting.


