Automatically send customer data from your SiteDude Booking system to your Mailchimp email lists. By the way, we recommend you to use our SiteDu.de Newsletter tool, as the prices are cheaper, and you get unlimited subscribers for your lists.
To activate Mailchimp, access the Features & Integrations section, locate Mailchimp, and click on “Enable“. Once enabled, the card will refresh to display a “Set Up” button. Clicking this button will take you to the configuration page for Mailchimp. Here, you can set up the integration with your Mailchimp account.
The new page will open, providing instructions on how to connect your Mailchimp account. Start by clicking the “Connect Account” button to begin the setup process.
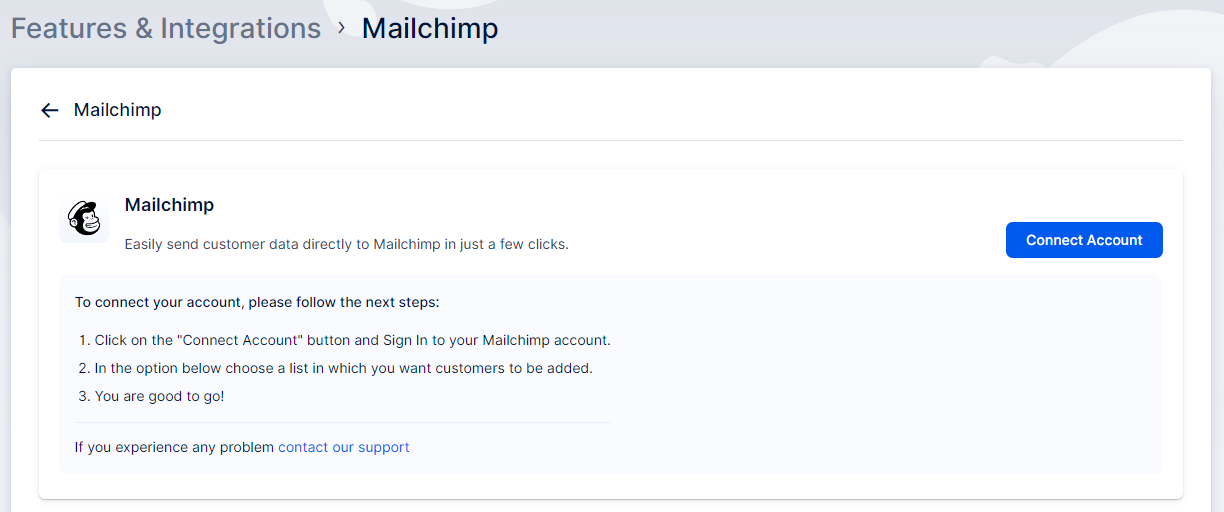
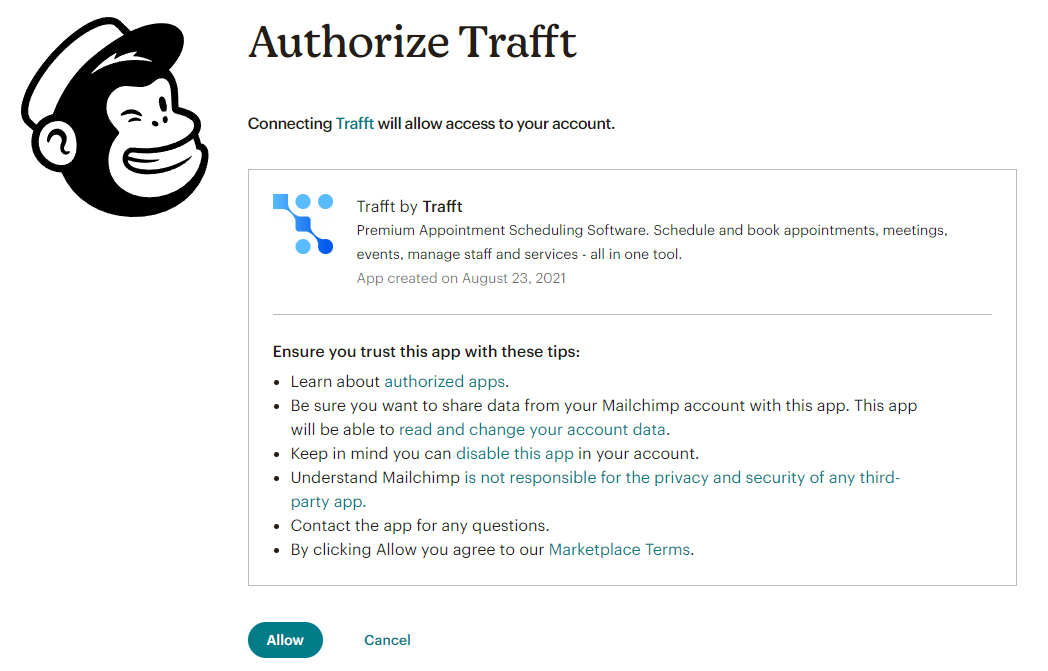
After clicking the “Connect Account” button, you will be prompted to log in to your Mailchimp account if you are not already logged in. Once logged in, you will see a prompt asking you to allow SiteDude Booking (via our service provider Trafft) access to your Mailchimp account. Click the “Allow” button to proceed.
Once your Mailchimp account is successfully linked to your SiteDude Booking account, you will see a dropdown menu displaying your Mailchimp lists, as shown in the image below. Ensure that you have created the list you wish to use in Mailchimp, then select the desired list from the dropdown menu.
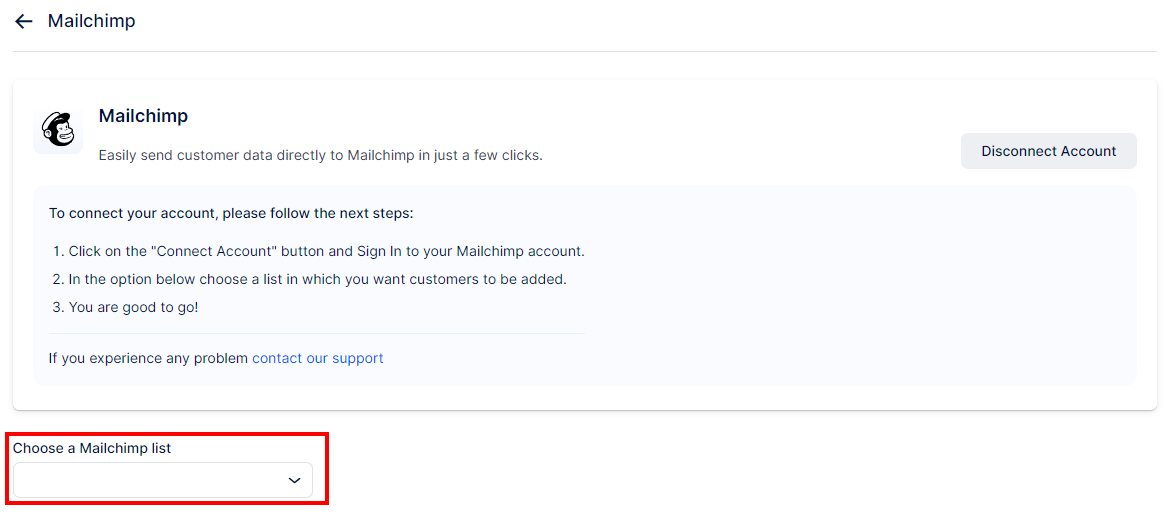
After selecting your desired Mailchimp list, click the “Save Changes” button at the bottom of the page. From this point on, whenever customers book an appointment through your booking website, their information will be automatically sent to the designated Mailchimp list.
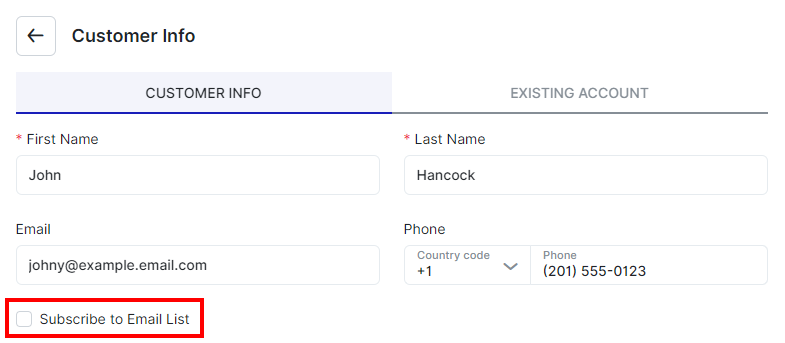
Additionally, on your booking website, customers will now see a checkbox option labeled “Subscribe to email list”. If they check this box while booking their appointment, their contact details will automatically be added to the Mailchimp list you have selected in the settings.