


SiteDude Booking offers direct integration with Zapier, allowing you to effortlessly connect your favorite apps. Creating Zaps is straightforward and can be done in a few simple steps, which we will outline here. Here is a list of information that you can send from SiteDude Booking to other apps via Zapier:
- Appointment Status
- Appointment Start Date
- Appointment Start Time
- Appointment Start Date and Time
- Appointment End Date
- Appointment End Time
- Appointment End Date and Time
- Appointment Price
- Booking ID
- Custom Fields Labels
- Custom Fields Data
- Customer Full Name
- Customer First Name
- Customer Last Name
- Customer Email
- Customer Phone
- Employee Full Name
- Employee First Name
- Employee Last Name
- Employee Email
- Employee Phone
- Service Category
- Service Name
- Service Duration
- Service Price
- Extras Labels
- Extras Data
- Location Name
- Location Address
- Location Phone
To enable Zapier integration, navigate to the Features & Integrations section within SiteDude Booking. Locate Zapier and click on “Enable“. Once activated, the card will refresh to display a “Set Up” button. Click this button to access the configuration page for Zapier.
A new page will open with instructions on how to link your Zapier account. Start by clicking the “Go to Zapier” button to begin the setup process.
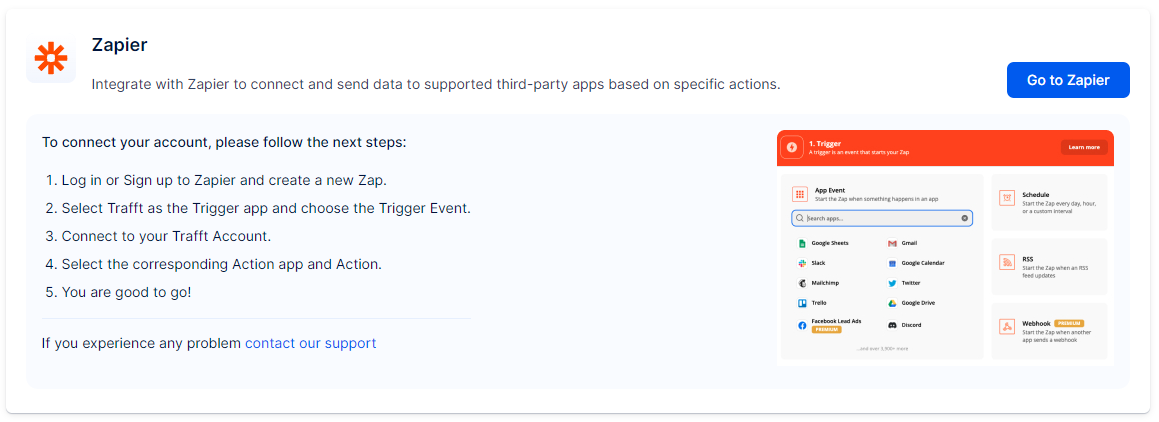
Add SiteDude Booking to your connected apps in Zapier #
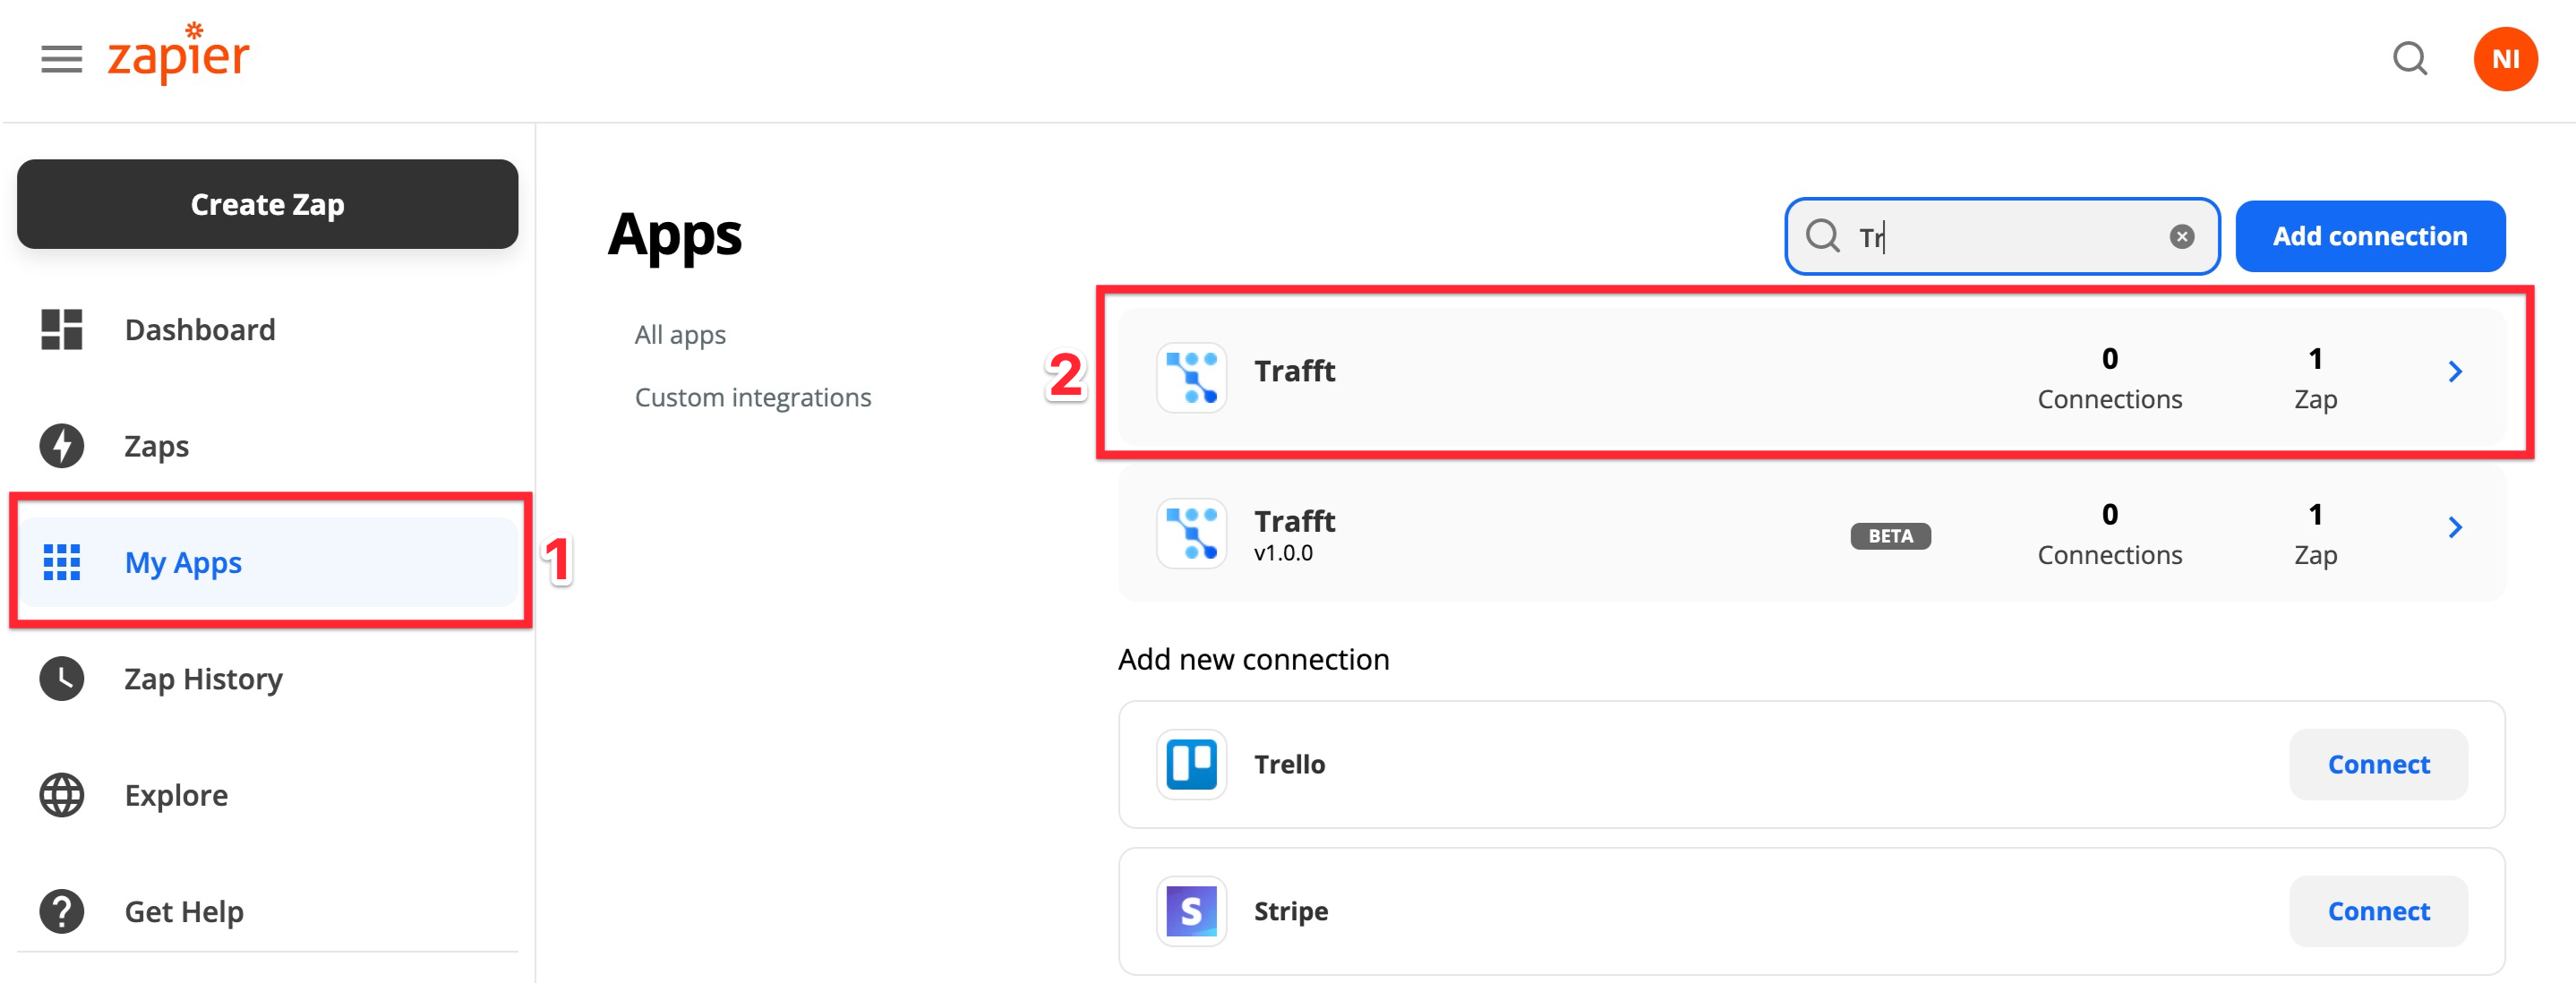
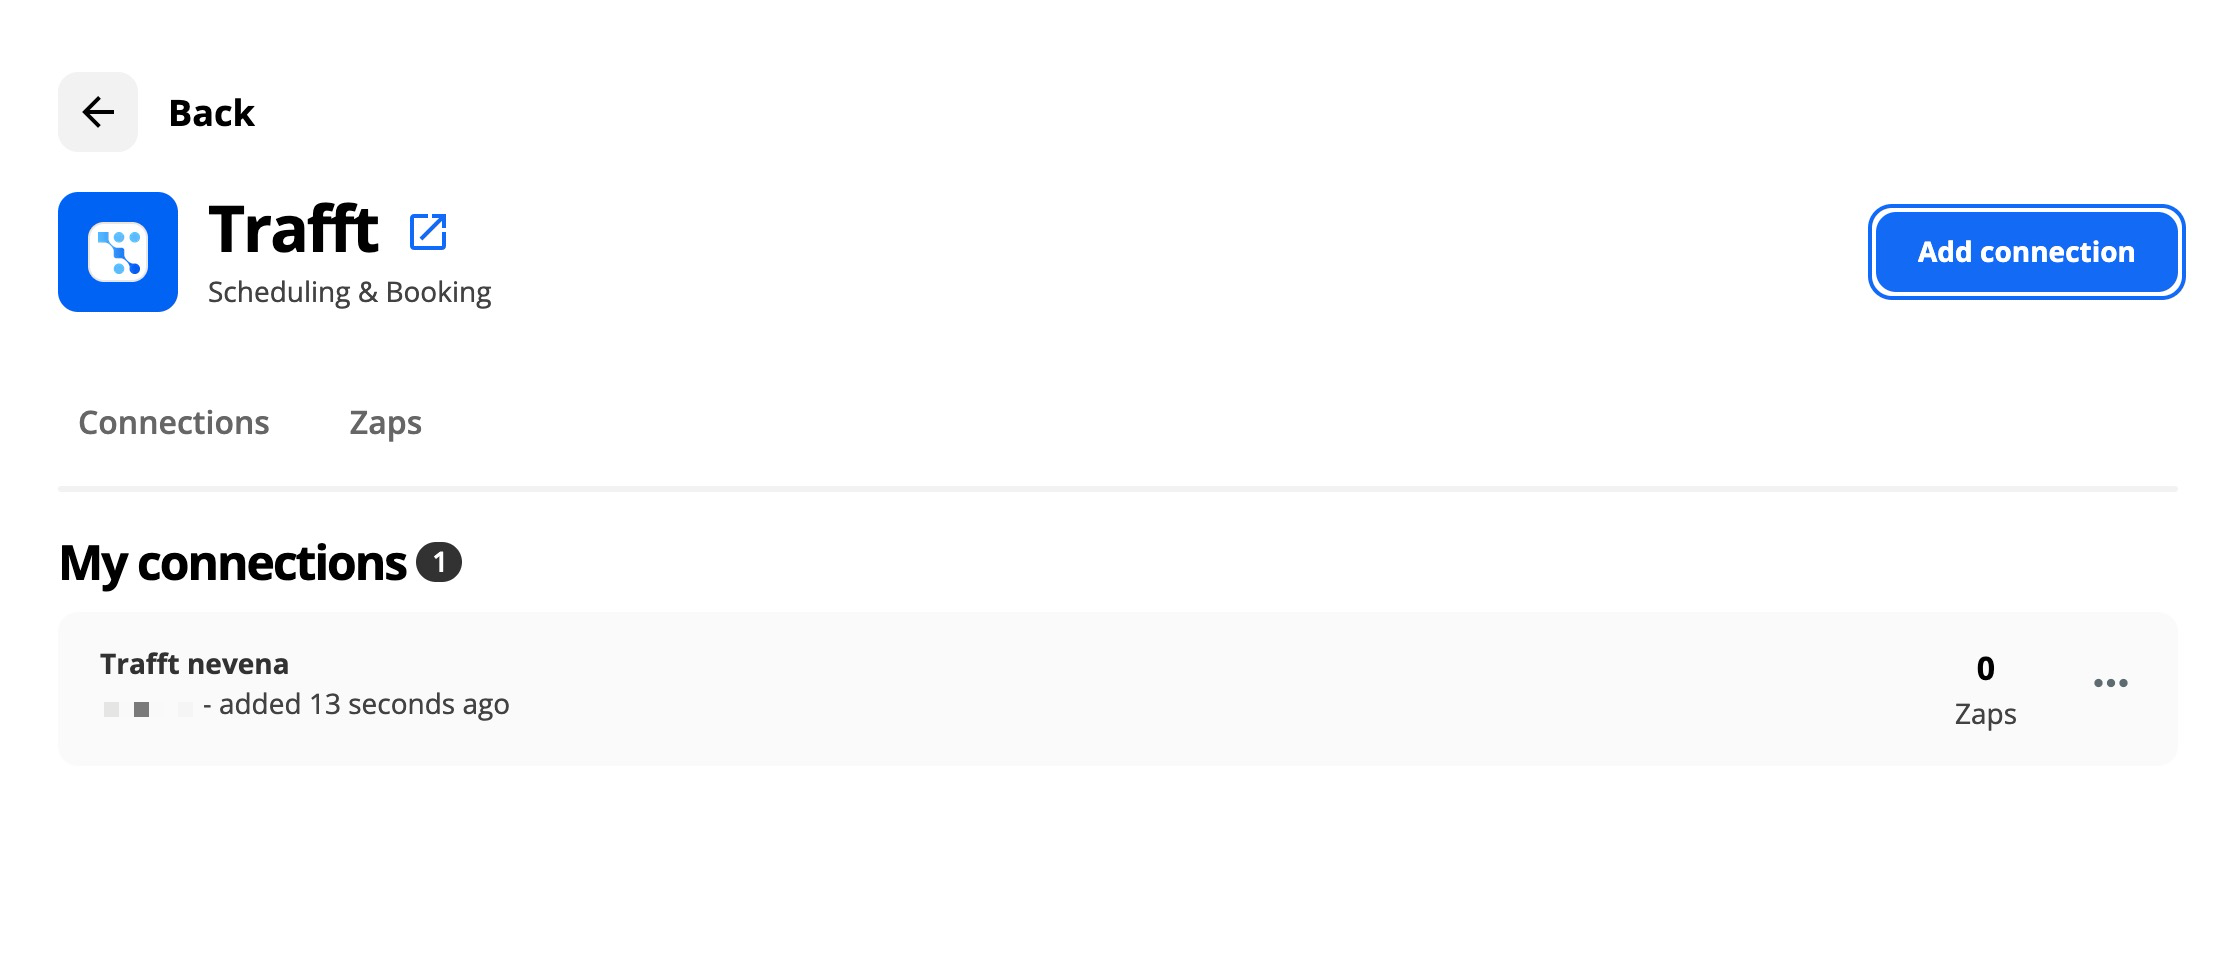
In your Zapier account, select “My Apps” (1) and search for our software provider “Trafft“. The System should appear in the results field. Click on it to proceed.
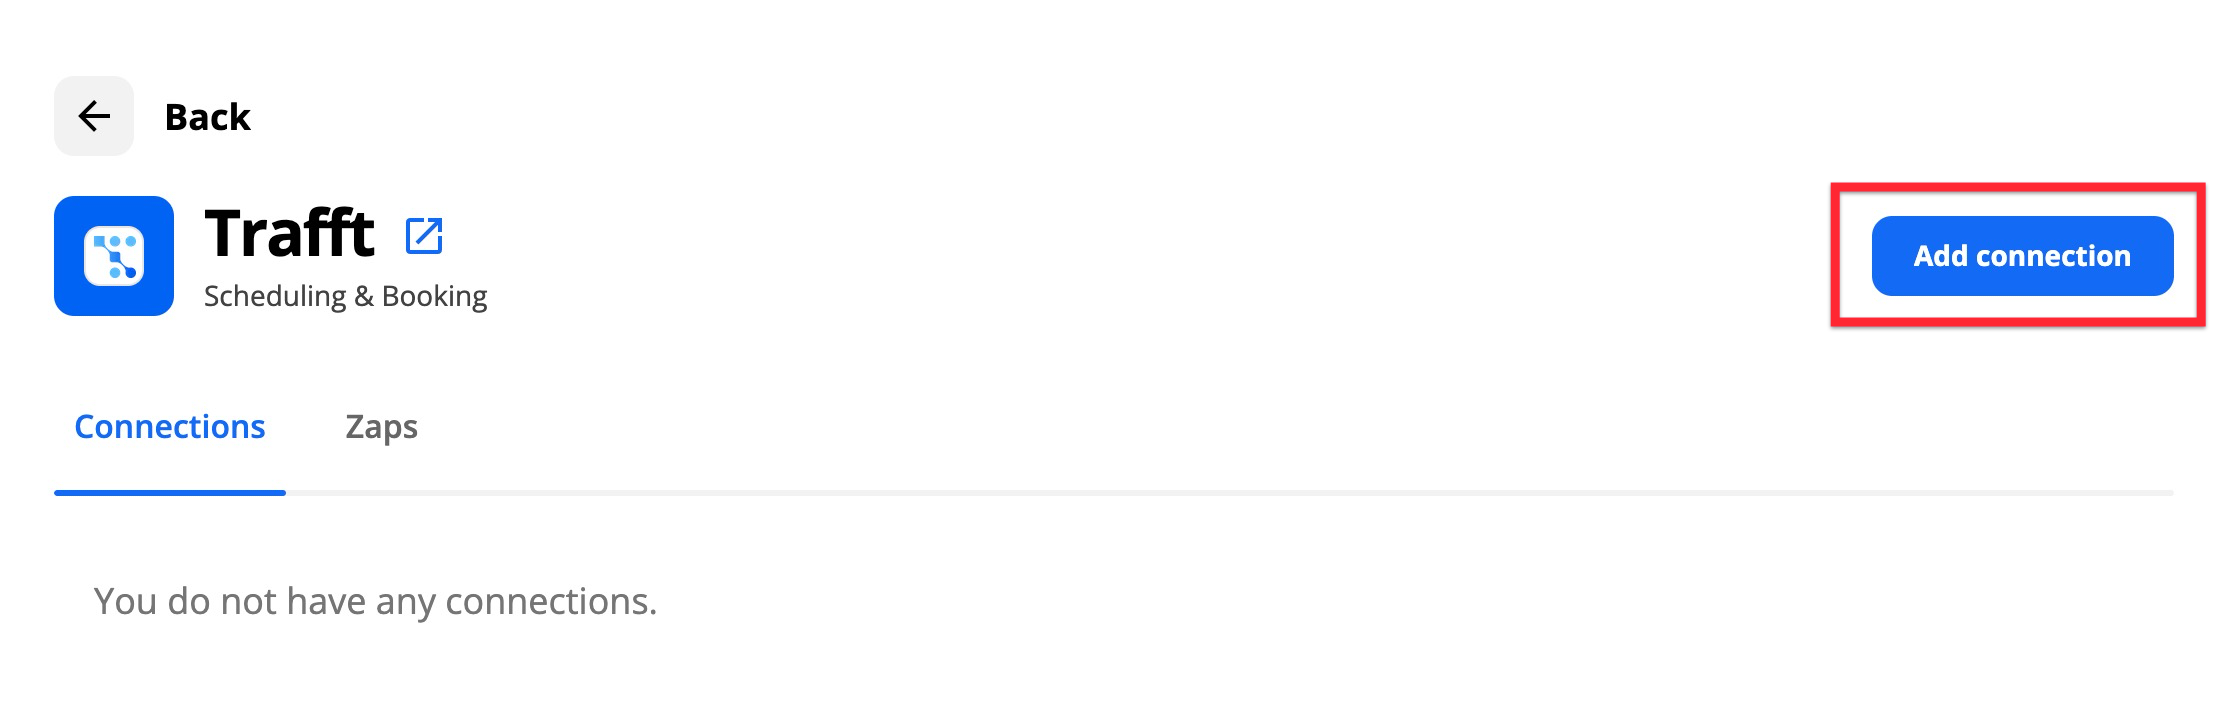
When you click the “Add Connection” button on the right-hand side, Zapier will open the SiteDude Booking page for you to enter your details.
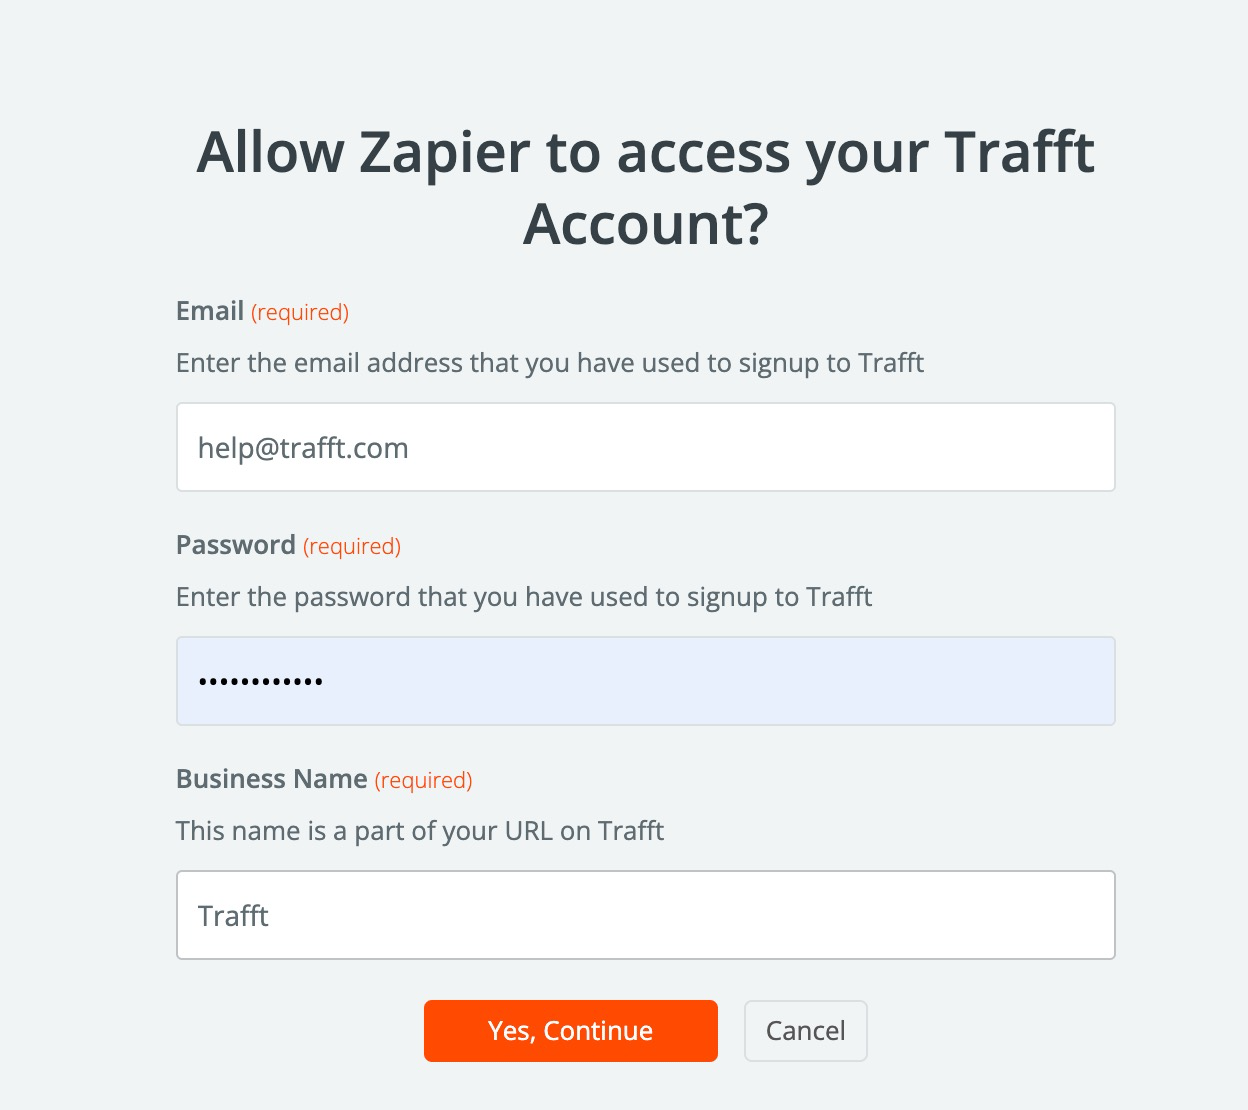
Enter the email, password, and business name for your SiteDude Booking account and click “Yes, Continue“.
Now you will be able to create Zaps for Trafft, and the system will appear under “My Connections“.
Creating your Zap with Zapier and SiteDude Booking #
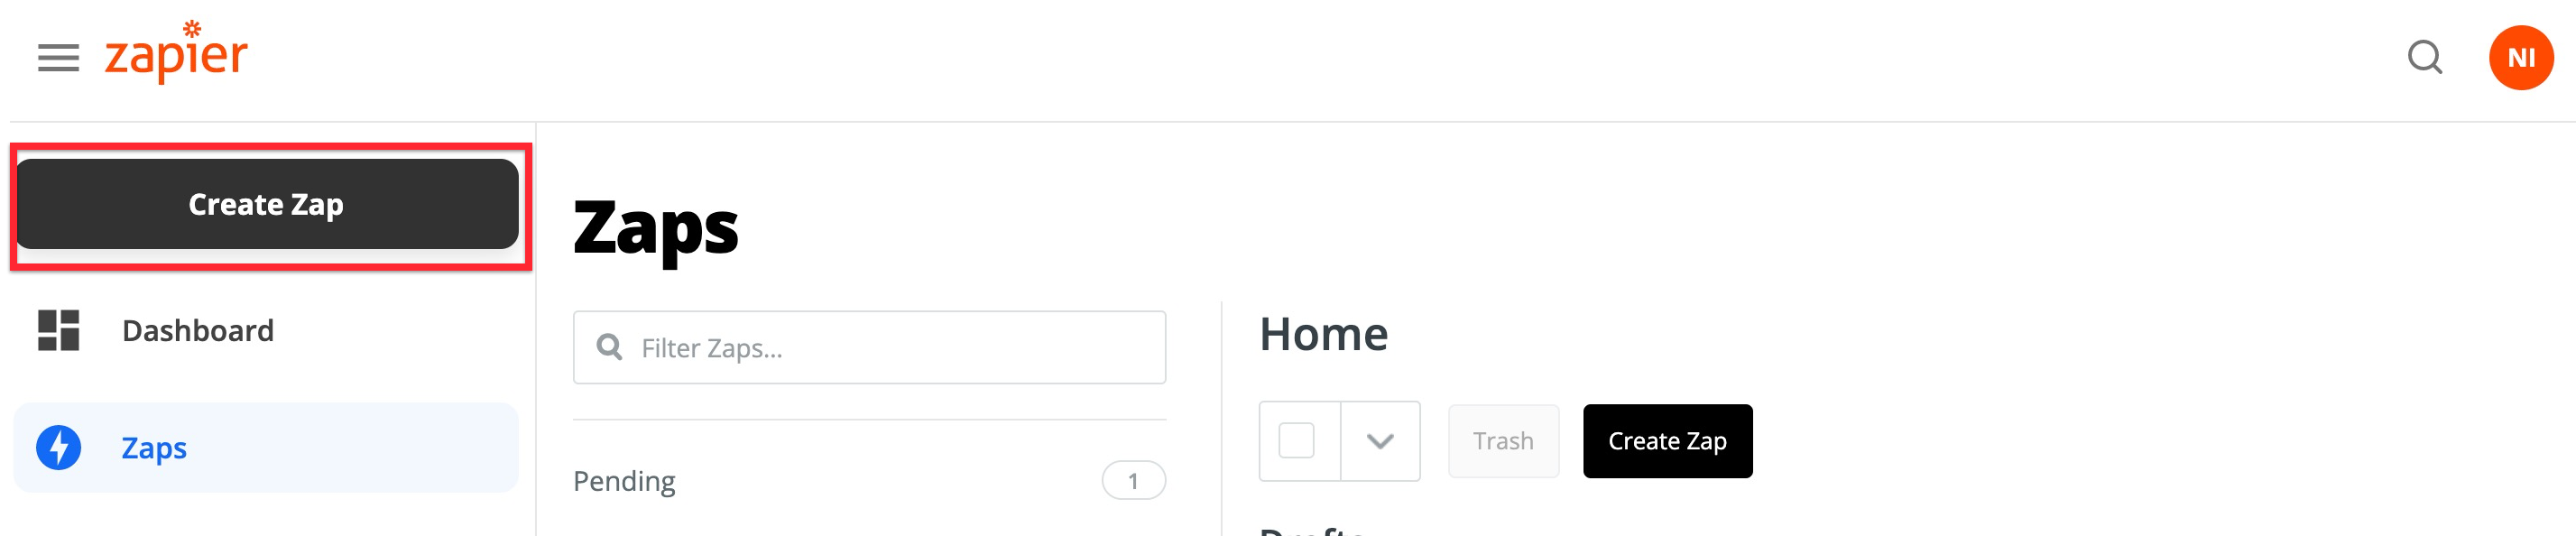
Click the “Create Zap” button in the upper left corner to start the integration.
Define a Trigger #
- Select “Traftt” as a trigger app.
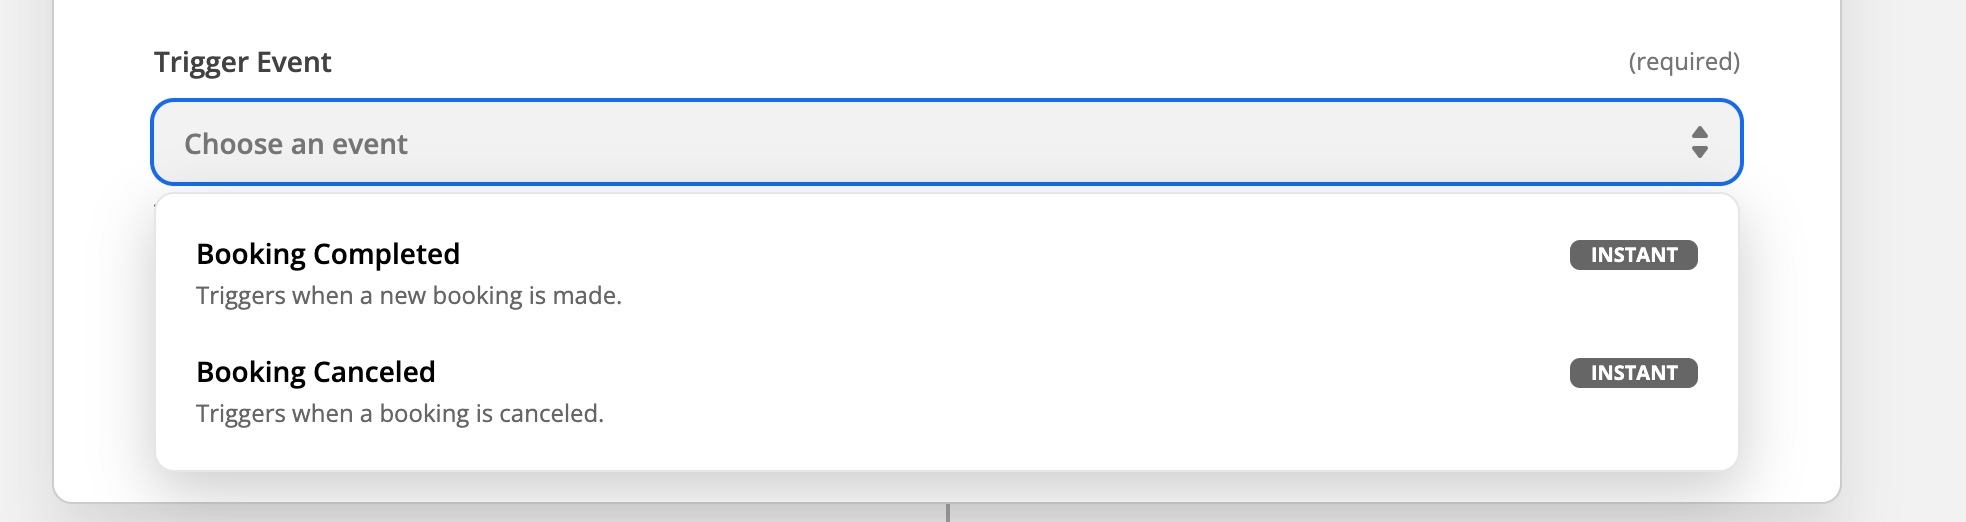
- Now specify the actual trigger. You can choose between “Booking Completed,” “Booking Canceled,” “Booking Status Changed,” “Booking Rescheduled,” and “Customer Created.” Click on one of these options and then click “Continue.” If you choose “Booking Completed,” the trigger will fire every time a new booking is made. If you choose “Booking Canceled,” the trigger will fire every time a booking is canceled.
- From the dropdown, select your SiteDude Booking account and click “Continue.”
- Next, click on “Test Trigger,” and Zapier should return the data, confirming that the Trigger works.
Define an Action #
- In the “Choose App & Event” section, search for and select “Google Sheets” as the app.
- For the action event, choose “Create Spreadsheet Row” since we want a new row in the spreadsheet for each new booking in SiteDude Booking.
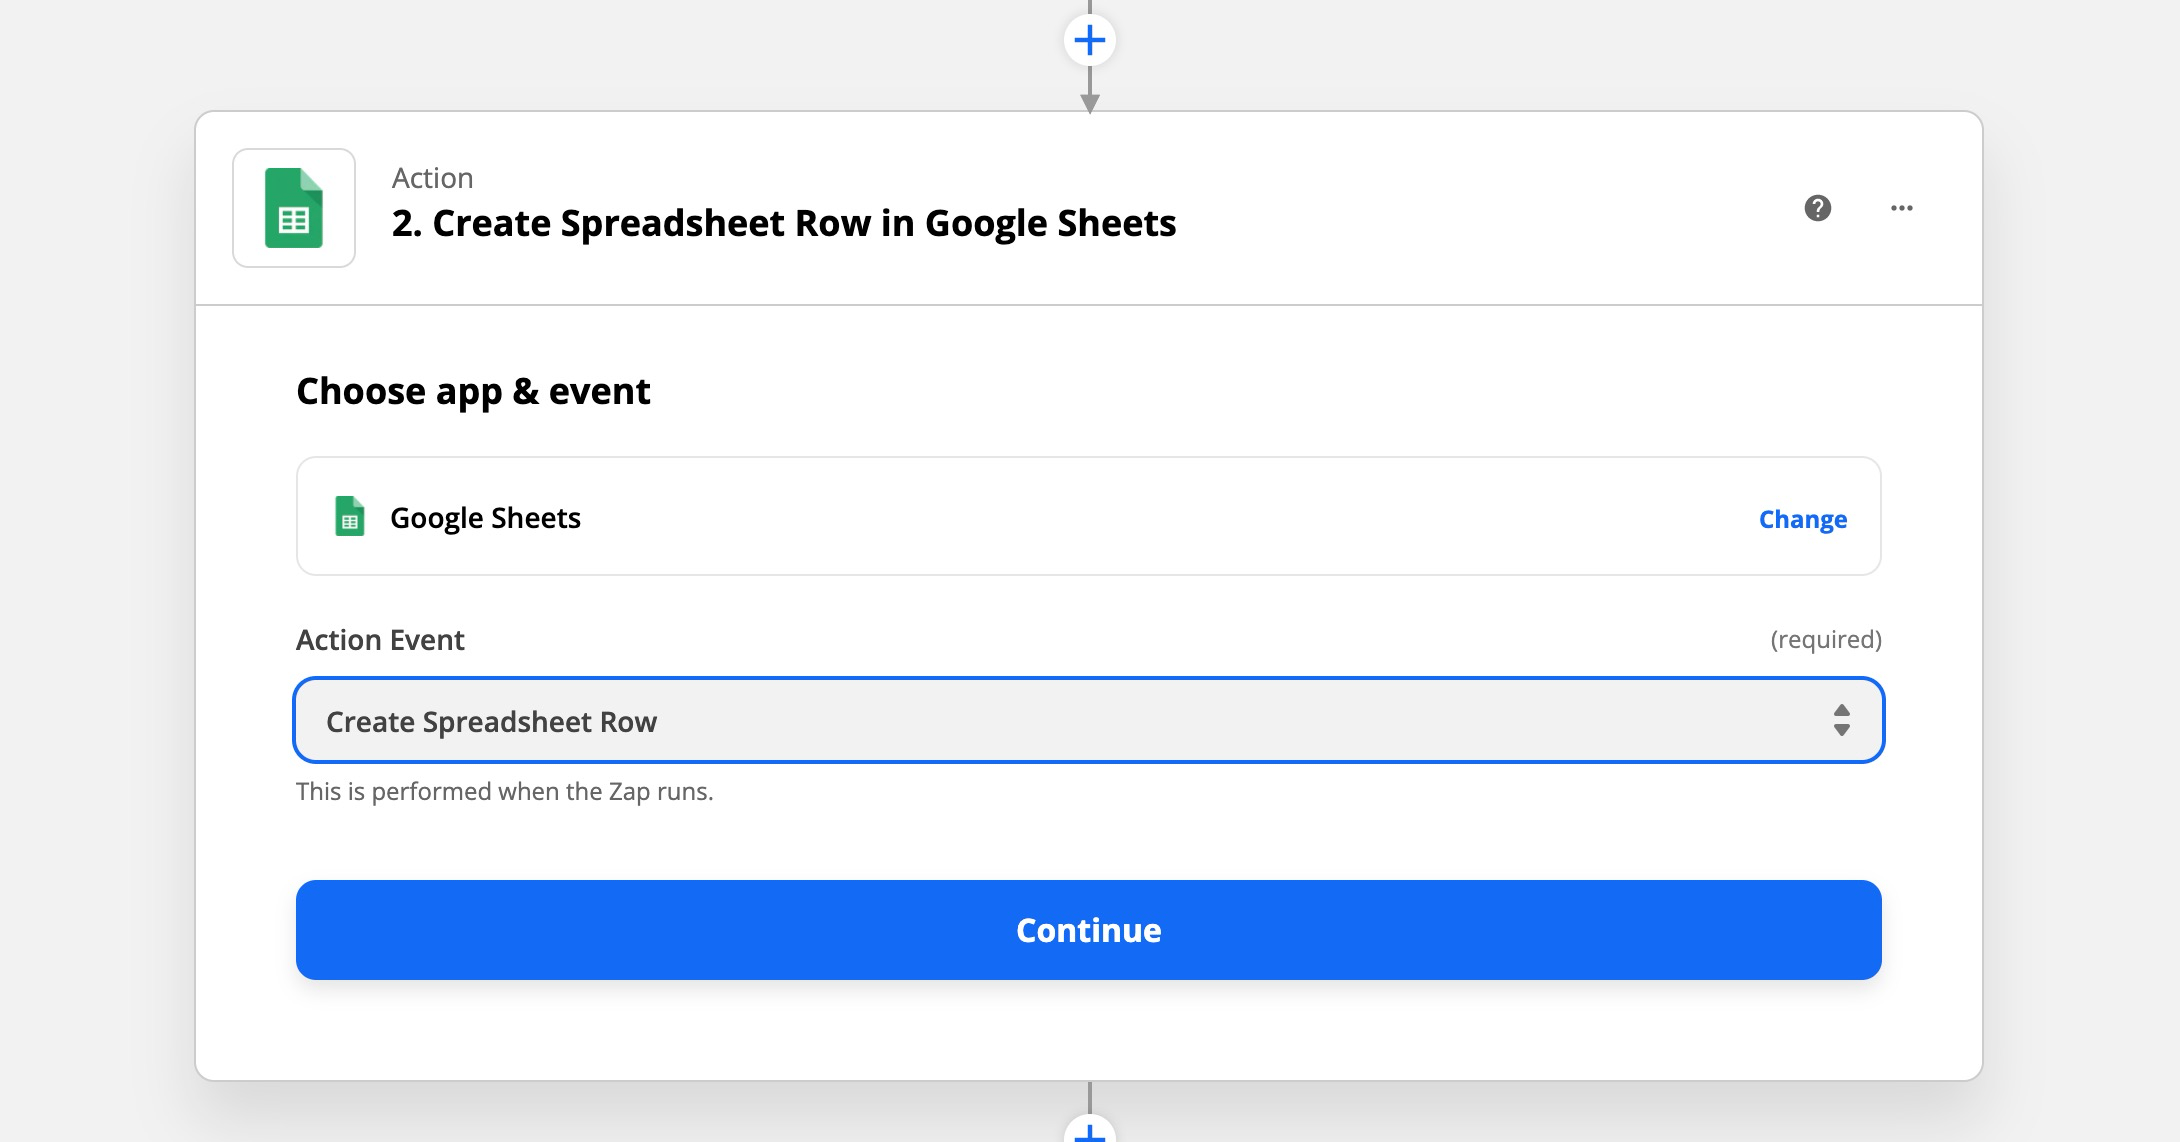
- When you click “Continue“, you will be prompted to choose the Google account where the spreadsheet is located. Select the appropriate account and then click “Continue” to proceed.
- Zapier will then ask you to map the data fields between SiteDude Booking and Google Sheets. This step is crucial for ensuring that the right information from SiteDude Booking is correctly placed into the corresponding columns in your Google Sheets spreadsheet. Match up fields like First Name, Phone, Email, etc., using the form fields provided.
- After you’ve set up the mapping, it’s time to test the connection between SiteDude Booking and Google Sheets. Zapier will send test data through to your Google Sheets to confirm that everything is working correctly.
- Once you’ve successfully tested the integration, your Zap is ready to be activated. Click the “Turn on Zap” button to activate it.
That’s it! Your Zap is now set up and will automatically add new booking information from SiteDude Booking to your Google Sheets spreadsheet as new rows.


