You don´t need any special plugin in order to display your services on WordPress. It´s often much more comfortable to simply embed them on your website.
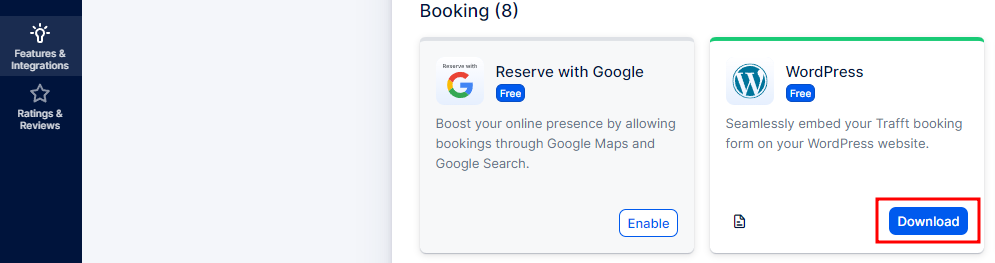
But if you choose to use a plugin, we have an excellent option available for you. In order to install the “SiteDude Booking” WordPress plugin, you need to access Features & Integrations and locate the WordPress integration. The easiest way to get the integration to work is to simply get in touch with our team. We will set up the plugin for you.
Click on the “Download” button and the “booking-system-trafft.zip” file will be downloaded to your computer.
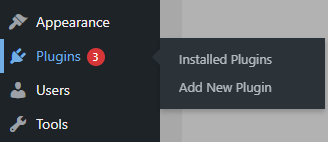
Once the file is downloaded, access the wp-admin (back-end) of your WordPress site and navigate to Plugins -> Add New Plugin:
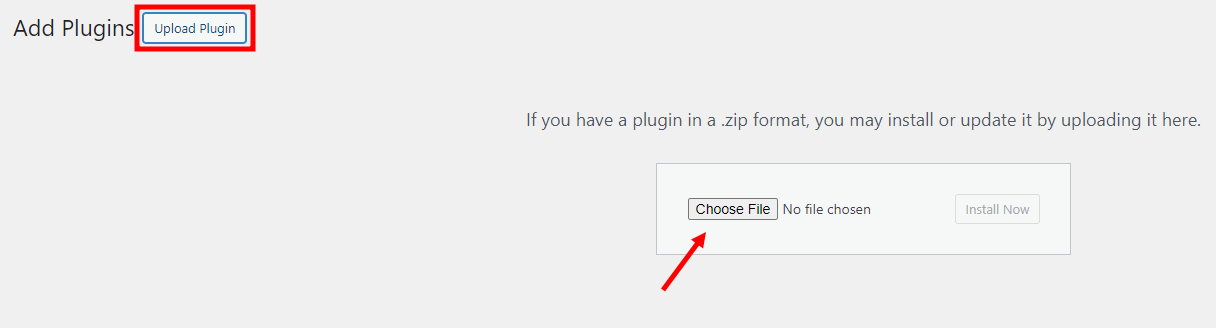
On the new page that opens, next to the “Add Plugins” title, click on “Upload Plugin”. A new section will expand below it, and you need to click on the “Choose File” button.
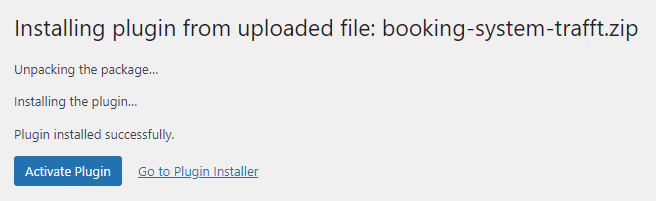
Once you select the file you previously downloaded from your SiteDude Booking account, click on “Install Now”. Once the plugin is installed, click on “Activate Plugin” and you’ll be taken back to the Plugins section, where you’ll see the “Booking System SiteDude Booking” plugin installed among the others.
The plugin will be visible in the left-hand side menu of your WordPress admin section. Click on it.

A new page will open where you need to enter the domain of your SiteDude Booking Website through our Service Provider Trafft (without “https://” and without “.trafft.com”) and then hit “Save”.
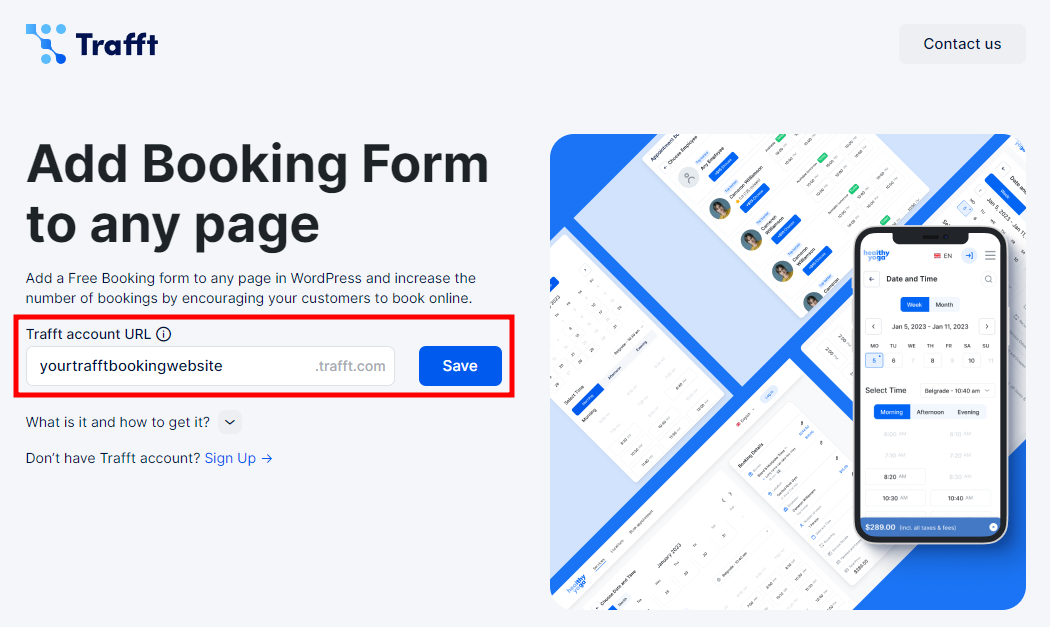
Once the page is successfully linked, you will see a notice appear above this input field that says “You have successfully connected your account”.
Adding SiteDude Booking’s Form to a Page #
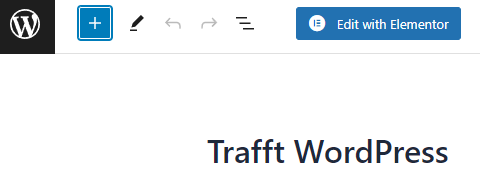
Now, to add the booking form to your WordPress website, you need to either create a new page by clicking on Pages -> Add a New Page, or by editing an existing page.
Gutenberg Editor #
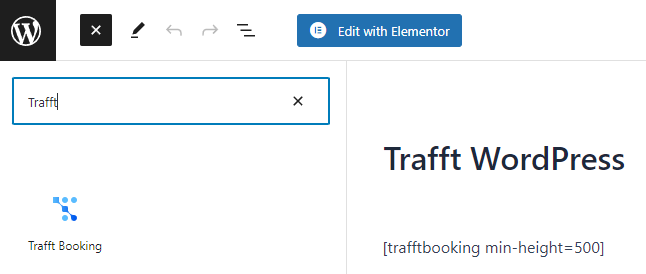
If you’re using Gutenberg, you can click on the “+” symbol in the top left corner, and search for “SiteDude Booking”:
Once “SiteDude Booking” is filtered, drag it to the right and add it to the page:
On the far right, in the side menu, you can enable the “Preselect Booking Parameters” slider where you can filter what the form will show on the front end – if it’s going to show only one Category or all Categories; if it’s going to show only one Service or all Services; if it’s going to show only one Employee or all employees, and if it’s going to show only one Location or all locations.
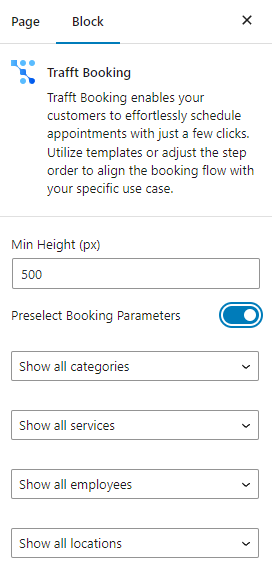
Please Note: This section doesn’t automatically filter other fields based on a single field’s selection so if you, for example, select “Employee 1” and “Location 3”, but the employee doesn’t cover “Location 3”, the booking form won’t show any available time slots.
Elementor #
Adding or editing a page through Elementor is similar to Gutenberg, with only a few differences in the interface.
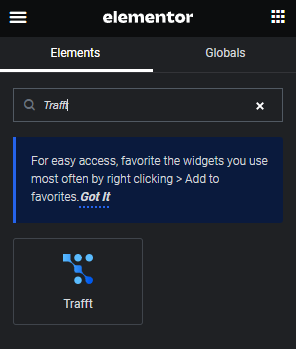
When you’re adding a page with Elementor, search for the “SiteDude Booking” widget in the search box and then drag it to the right to add it to the page.
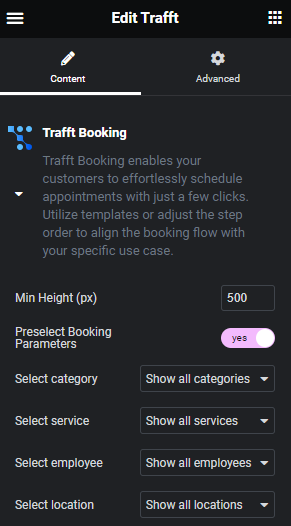
Once it’s added, you can click on the section of the page where SiteDude Booking is, and on the left, you’ll see a menu similar to what you’ve seen in Gutenberg, with the “Preselect Booking Parameters” option:
Other Builders #
If you’re not using Elementor or Gutenberg, you can still add the booking form to your WordPress website by adding the following shortcode:
[trafftbooking min-height=500]
This is the default shortcode, and you can change the value of “min-height” so it fits your screen better. If you want to use the predefined parameters, as in Gutenberg or Elementor, you can use these codes:
- To show the booking form with “Category 1” predefined:
[trafftbooking category=1 min-height=500]
- To show the booking form with “Service 3” predefined:
[trafftbooking service=3 min-height=500]
- To show the booking form with a specific employee predefined:
[trafftbooking employee=employeeName-employeeLastname min-height=500]
- To show the booking form with a “Location 2” predefined:
[trafftbooking service=2 min-height=500]
You can combine these parameters, but bear in mind what we already mentioned before – if you, for example, select “Employee 1” and “Location 3”, but the employee doesn’t cover “Location 3”, the booking form won’t show any available time slots.
That’s it. Once you save/update the page, you will see the booking form on the front:


